|
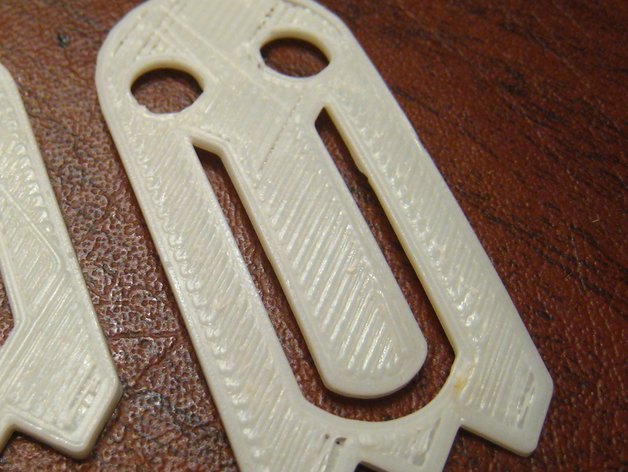
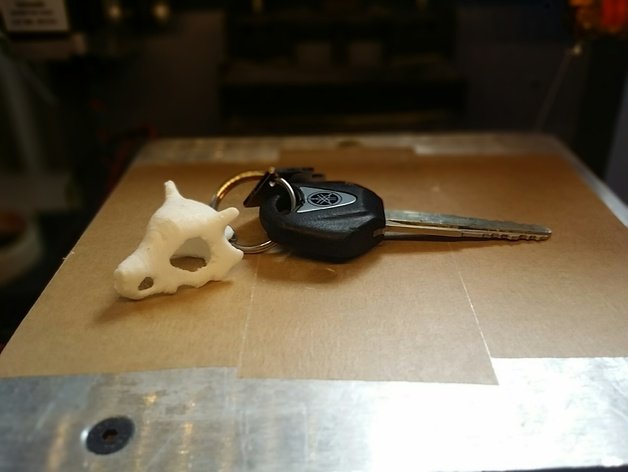
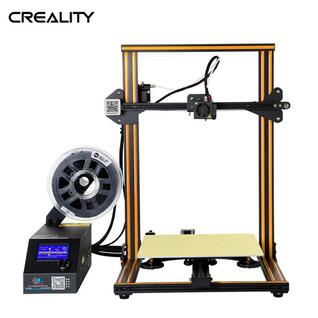
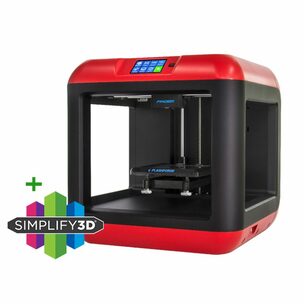
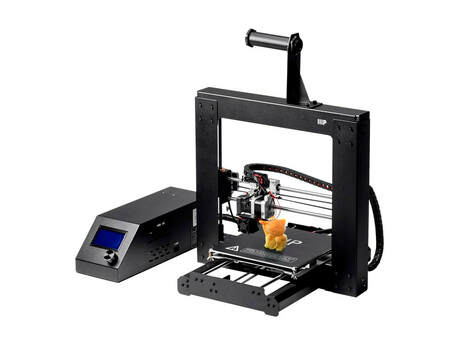
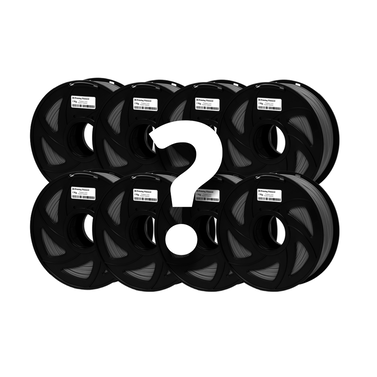
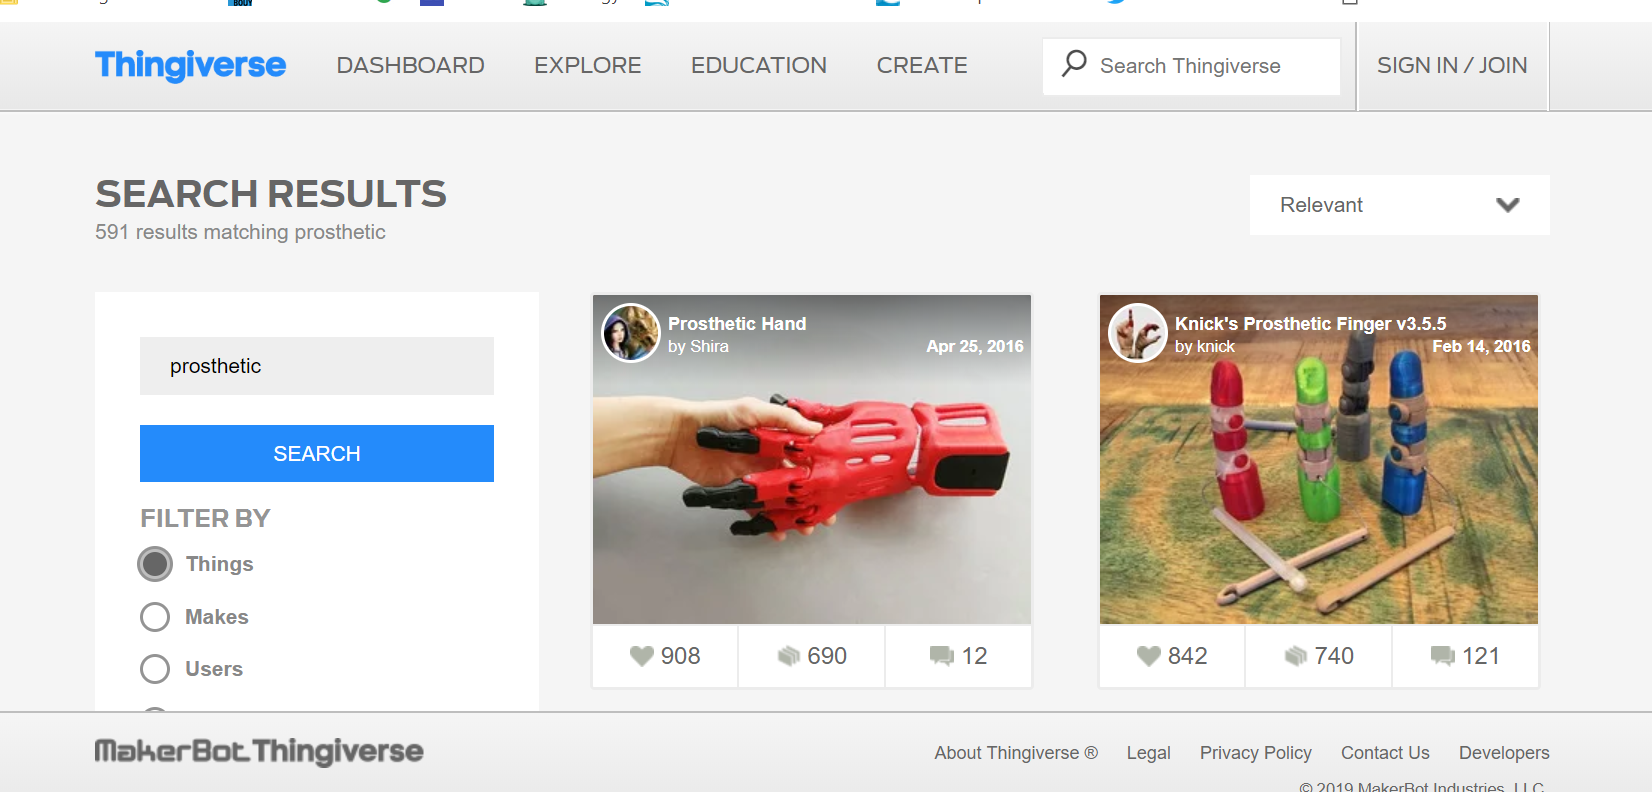
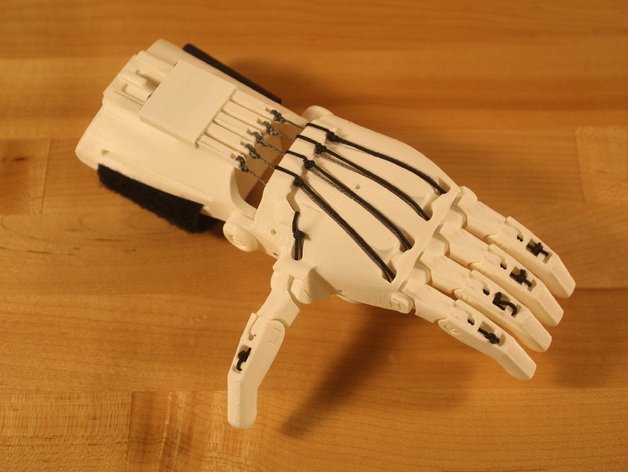
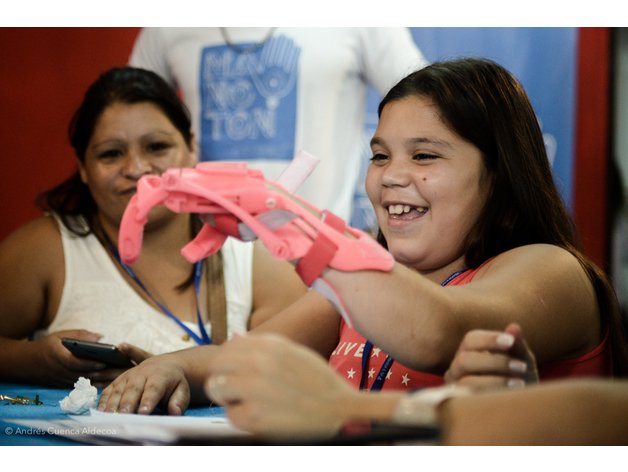
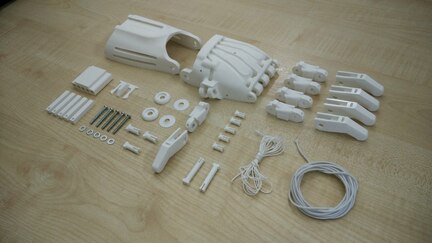
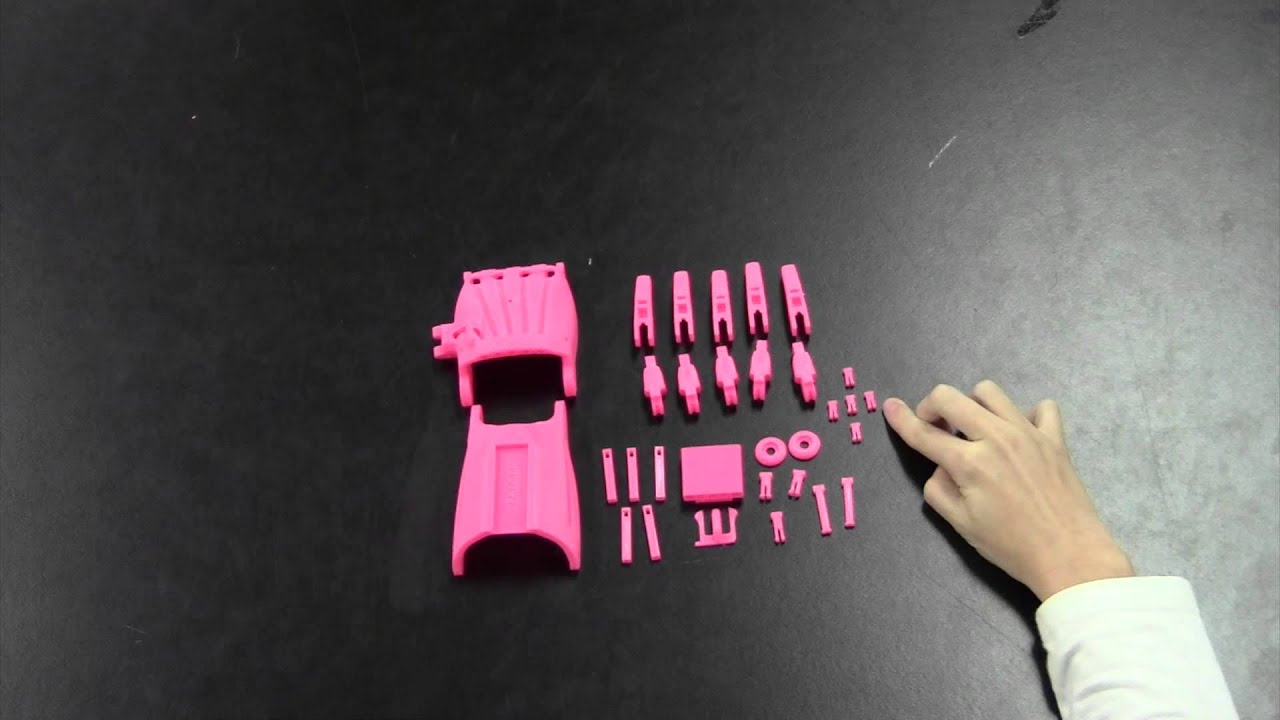
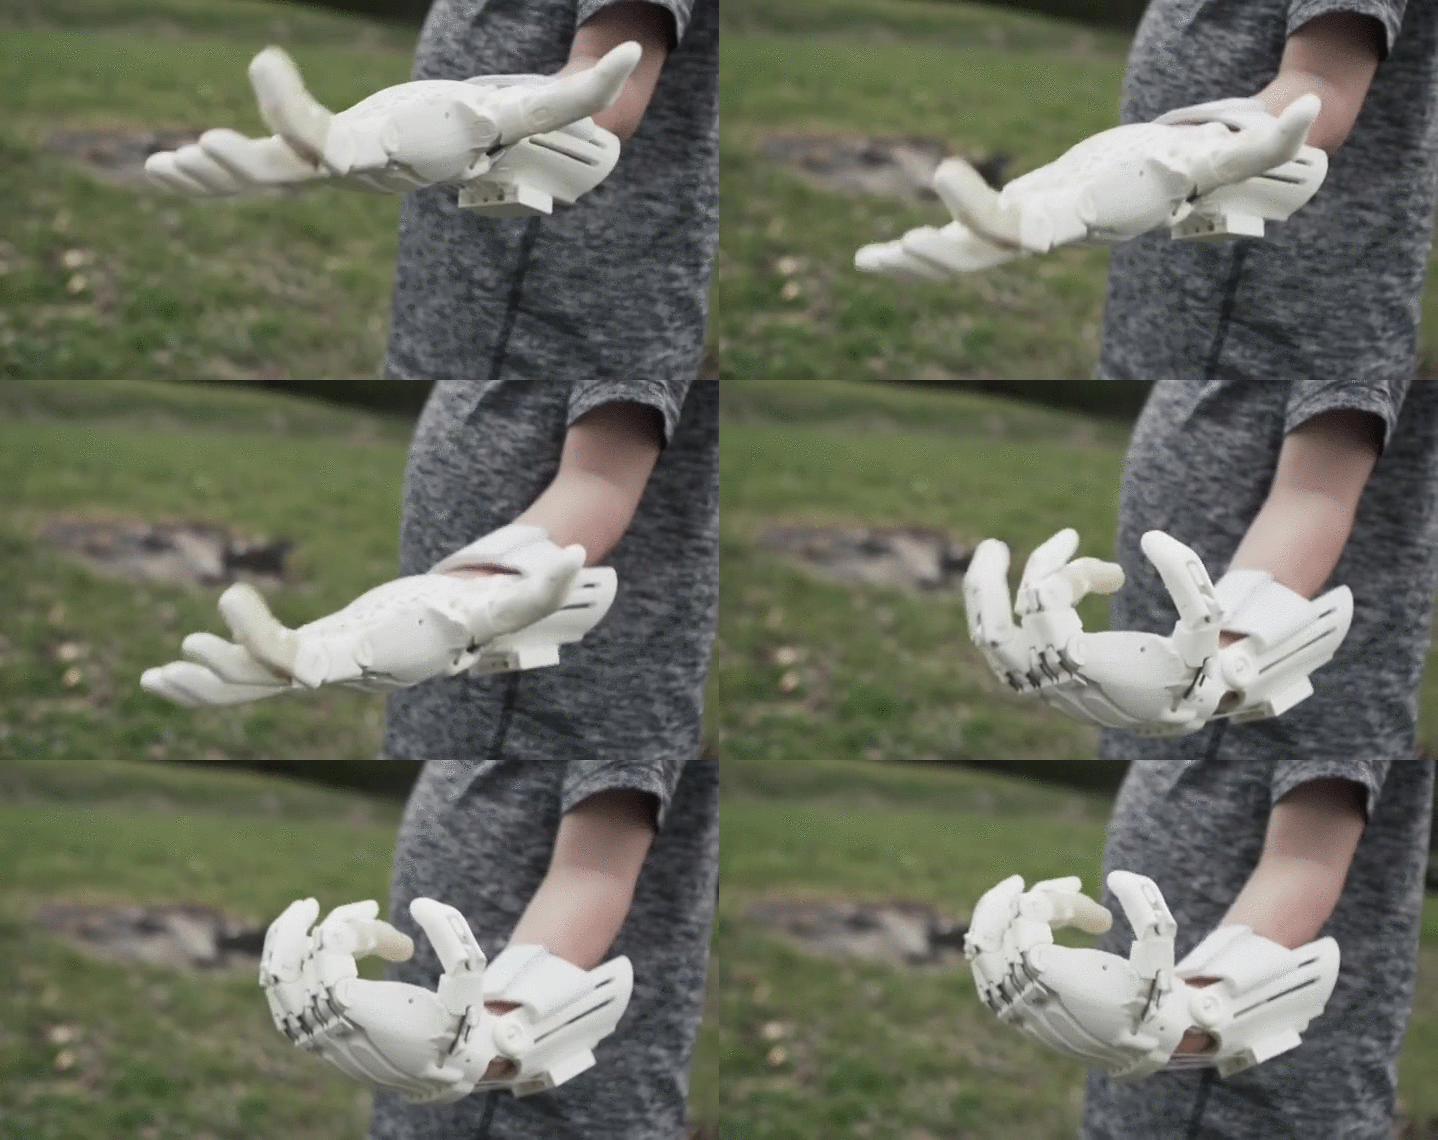
Before starting with this project, please refer to any of my tutorials that have to do with 3D printing. They are a good jumping point and can be located here, here, here and here! That will help you get started and below I'll mention some other printers that are great and affordable! First let's talk about why this project should be done. What is the goal of this project?With 3D printing, students can print amazing things! At first they will most likely print little trinkets such as the ones below: What if we push this further and have them print something functional? What if it's something that not just works but can make a huge impact in someone's life? Let's talk about printing prosthetic hands! What printer should I go with?There are TONS of options out there and I have a few I would recommend. Below are printers I have used in the past or currently use: Creality CR-10This is my go to printer right now because of it's durability and HUGE print size! It comes as a DIY but it is really two frames that are connected by four bolts. Then you remove some zip ties and then connect a few cables. Once that's done it is ready to go after balancing the build plate! It runs between $370-$400 and I have included a link to a stateside distributor. Flashforge FinderA solid and reliable 3D printer, the Flashforge Finder is a workhorse. It comes out of the box ready to print and is easy to use. Perfect for someone new to 3D printing! The Makerselect V2 from Monoprice is a solid 3D printer and their customer service is second to none. Coming fully assembled and ready to print, this is a good printer for those just getting started. In order to start printing, you will need plenty of material. PLA is sturdy and does not have a strong smell like other materials such as ABS. A roll of PLA can cost around $20 but you can get 8 rolls for $90 shipped through ZYLtech. I use this material and it is very good and so far they have never repeated a color in the same order, so you'll definitely get variety. Finding the right hand to use!There are tons of options for printing prosthetic hands, ranging from those that require extra hardware to those that are completely 3D printed. Below are some examples that you can find, download and start printing now! First is the search results with tons of options, next is the raptor reloaded hand and then the no strings hand! How many hands should I print?I built one hand as an after school project and had four students work on it. I felt like this was one student too many. If possible, have two to three students work on each hand. If you are printing hands just for students to assemble, you can print them all the same size and this can save time since you will just repeat the prints. If you are printing for someone in need then this will take time since you will need their measurements. Budget is also a concern, since hands like the Raptor Reloaded require hardware and an assembly pack costs around $30. The no string hands is completely 3d printed and can be assembled in less than 30 minutes. Finally, make sure to make the hand is solid (the infill setting when setting up the print) to the specifications listed for the hand. How do I find donors?e-NABLE is an organization that helps those in need of prosthetics, find people who can 3D print and assemble them. In order to become part of this community you will need to first become a builder by submitting a test hand. This hand does not need to be a specific size, but they do recommend 120-135% of the original hand size. Once you have assembled it, then you will fill out this form and send the hand in. If it passes their testing process, then you will become a validated maker. Where to start? Let's begin with exposure and reflectionShow student the videos below to begin the spark of prosthetics and adaptive technology.
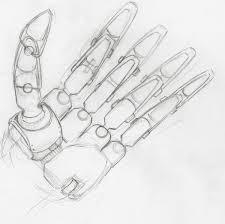
Next you'll have them design their own prosthetic hand by working solo. Make sure they include plenty of detail and for them to label specifics on their design. You can either let them go off their own ideas or allow them to look up other prosthetic hands for inspiration. Once this has been completed, explain to them that they will be assembling a prosthetic hand that has already been designed and printed. Let them know it's just for fun, but in reality for some of them it will not. Here you will want them to go ahead and find partners or you partner them up! Before they start the build process, explain to students that you want them to explain how they believe the build will go, without showing them the hand yet. You can do this is any matter of ways such as a quick write or just having them stand and share out loud. I prefer having the students use Flipgrid in order to get them really share their voice. It's free for educators and can be a powerful beyond just this project! Time to build!So once you have your hands printed, go ahead and have students work in their groups to build the prosthetic hand. Depending on this hand you have chosen, you may need a few small screwdrivers and will want scissors available so that students can scrape at some of the areas to allow for an easier fit to parts. Once completed, we move on to testing the hand out. Time to test the handStudents will then begin testing the hand for grip strength by flexing it closed on objects and making sure it can hold on to them. Have them try it with several different sized objects. Once completed, invite over other classes, parents and admin to check out your students handy work because some or all of the hands will soon be gone. Time to ship them outI mentioned earlier that you should tell students that this assembly would be just for fun? The reason for that little bit of deception is so that you can surprise them a couple of time during the project. Here you will pack up all or some of the prosthetic hands, specifically the ones you have measure out for a donor. You'll go ahead and then ship them out, which leads to a little white lie you will need to tell students. You could mention that the hands were lent to another school, teacher or district but in reality they are on their way to someone in need. Surprise!Once the donor has received the hand and made sure it fits them perfectly, you'll need a favor from them. If they can do a video call via Skype or Google hangout, have them call in to class but don't let the students know who their mystery guest is. When this happens, have the students stay in their seats but the students who put that hand together and tested it properly will take center stage to meet the person they just impacted. If the donor cannot or refuses to do a video call, ask them for pictures, letter or video message if possible. If none of this happens, it's ok! The goal is for students to build something functional and for them to reflect on the experience. Time to reflectHere is where students will finally reflect on the entire experience. I give them their choice of how they want to share their knowledge, understanding and thoughts. The same should occur here, especially if they are one of the students who helped someone in need. Allow them to do a video reflection, five paragraph essay, slideshow presentation, etc. Whichever allows them to be comfortable and gives them that voice to share how this has changed their views on the world. Why do this project?There are many reasons to do this project and here are just a few: it allows for students to build a functional item, allows for design thinking to occur and be understood, sparks an interest in medicine, sparks an interest in technology, allows for many writing opportunities, introduces another leg of computer science, involves tactile learning, math is built in with measurements and scaling and so much more. The biggest reason is that as the world changes because of advances in technology, this project allows students exposure to a tool that is already being used by several corporations. It also allows them to do something that, not to sound too dramatic, allows for students to change a person's life. This in turn allows for an event that allows student to learn what empathy and sympathy feels like. In the end, it also will boost their confidence because they will be able to look back and say "look what I did in 5th grade, I am capable of even more!". This is the type of learning experiences we should strive for in our classrooms and I hope you give this one a try!
1 Comment
3/4/2024 06:46:41 am
Animation software facilitates the creation of moving images, whether for entertainment, marketing, or educational purposes. It offers tools for designing, animating, and editing characters and scenes, enabling users to bring their creative ideas to life through dynamic visual storytelling.
Reply
Leave a Reply. |
About me
Hi! My name is Jesus Huerta and I help kids find their creativity by making things! Tech comes second and all that jazz. Contact me with ANY questions at [email protected] Archives
April 2019
Categories |



 RSS Feed
