|
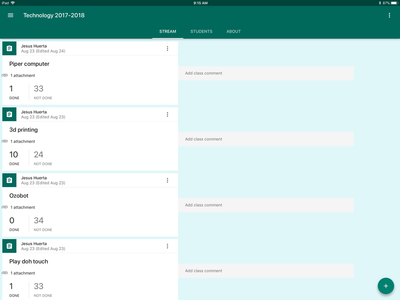
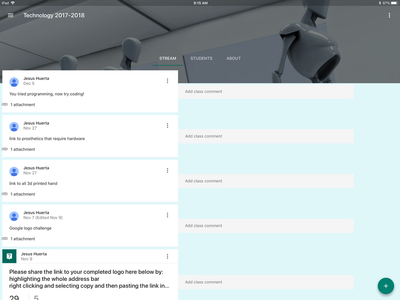
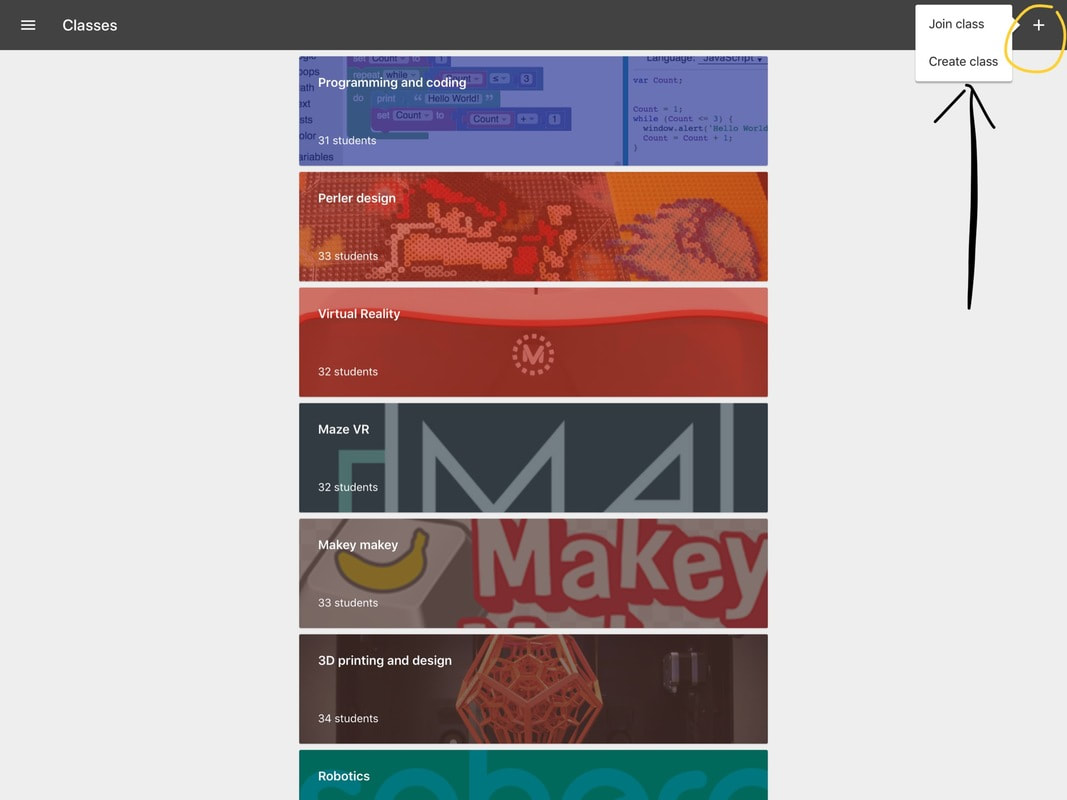
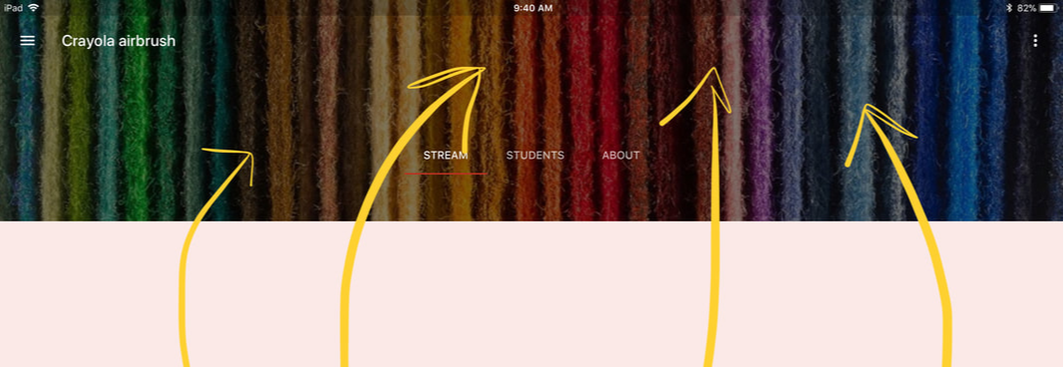
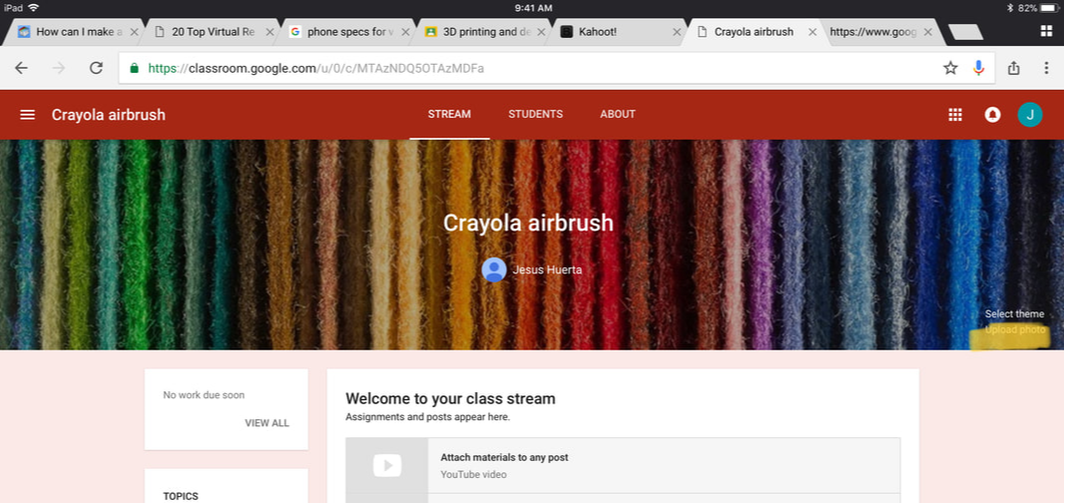
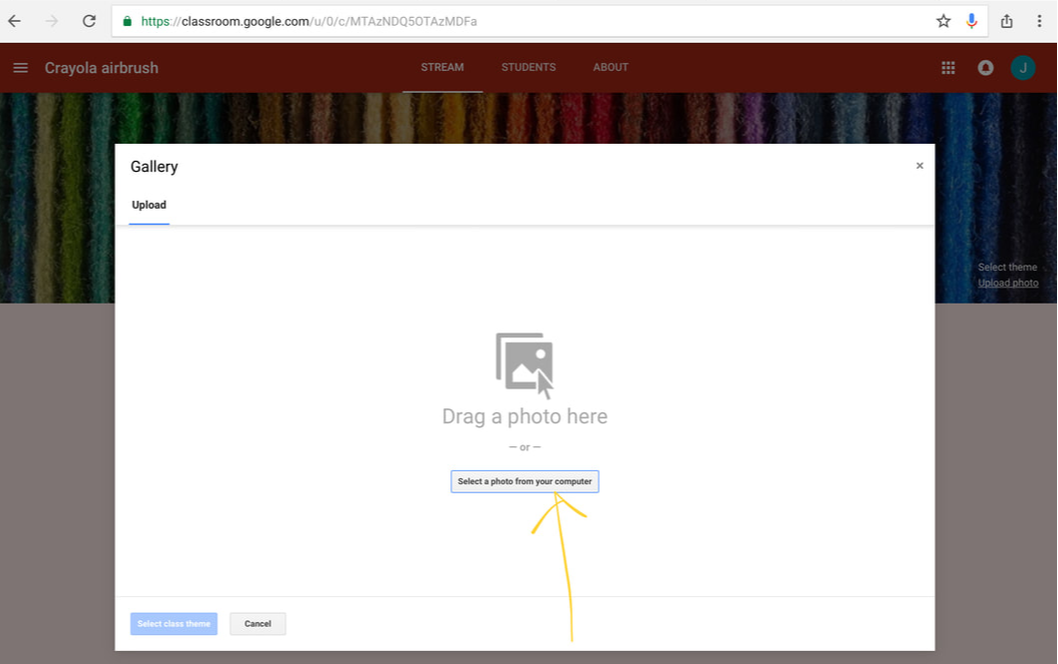
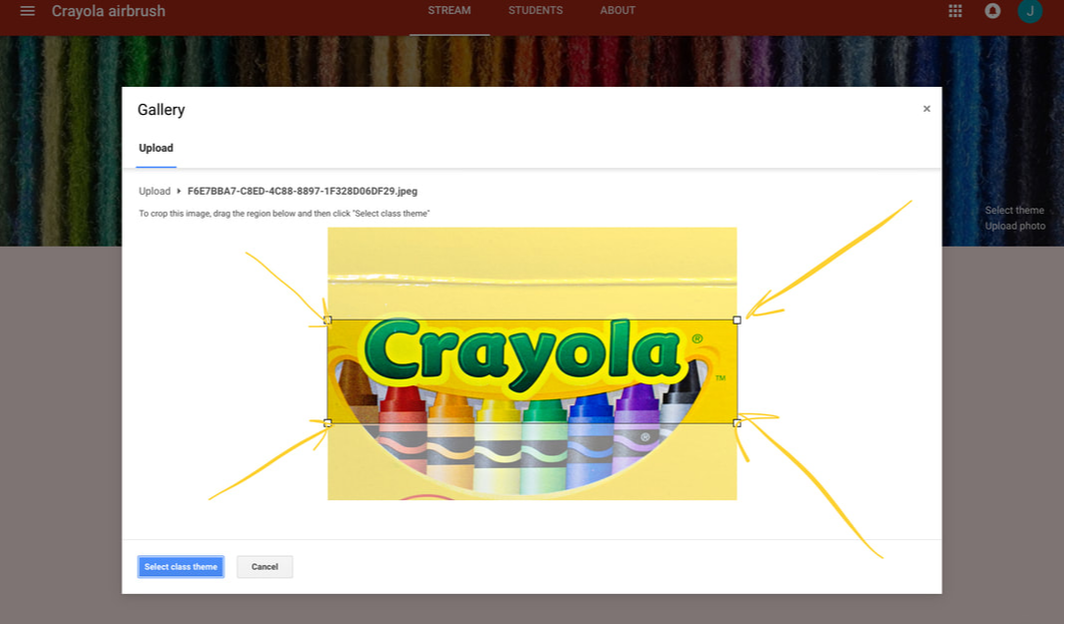
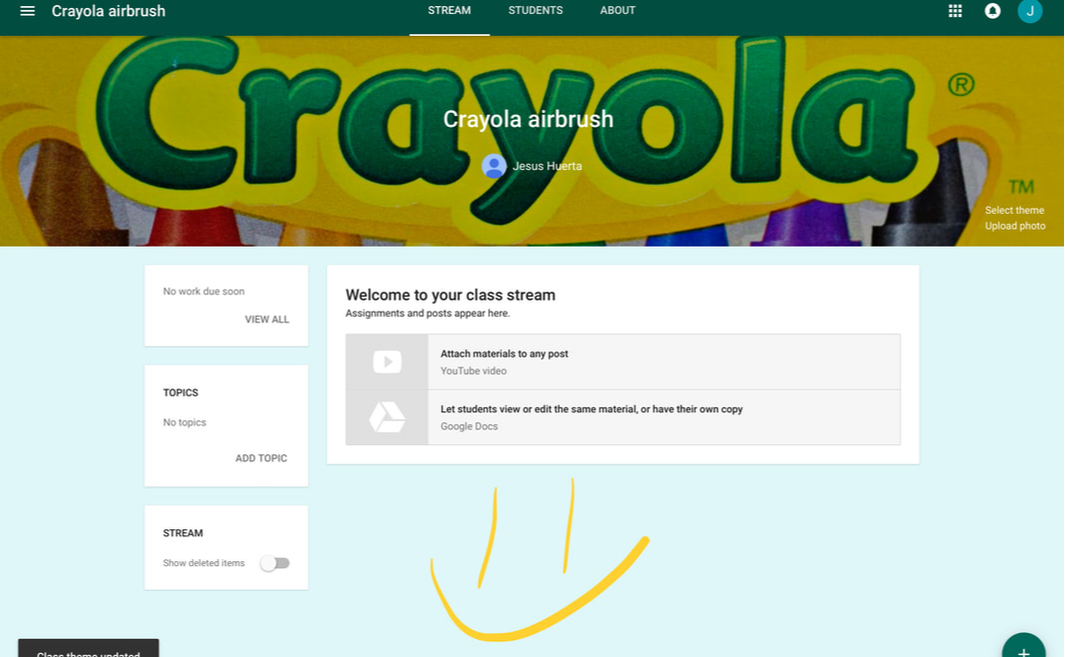
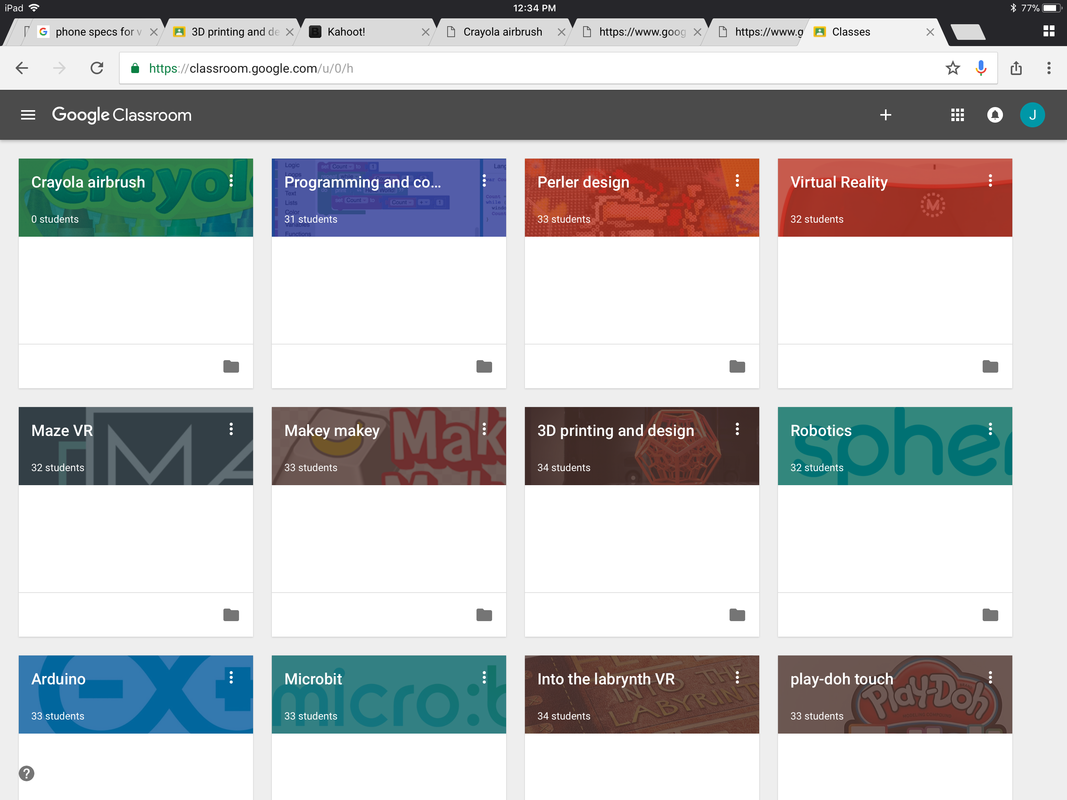
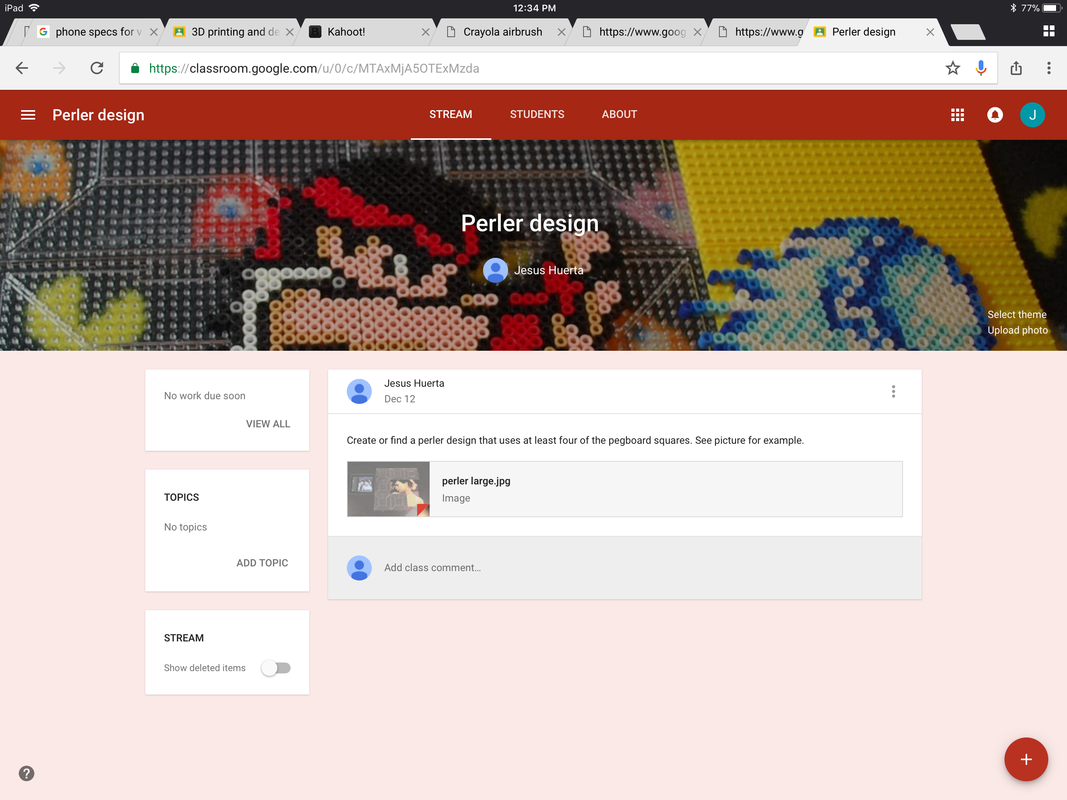
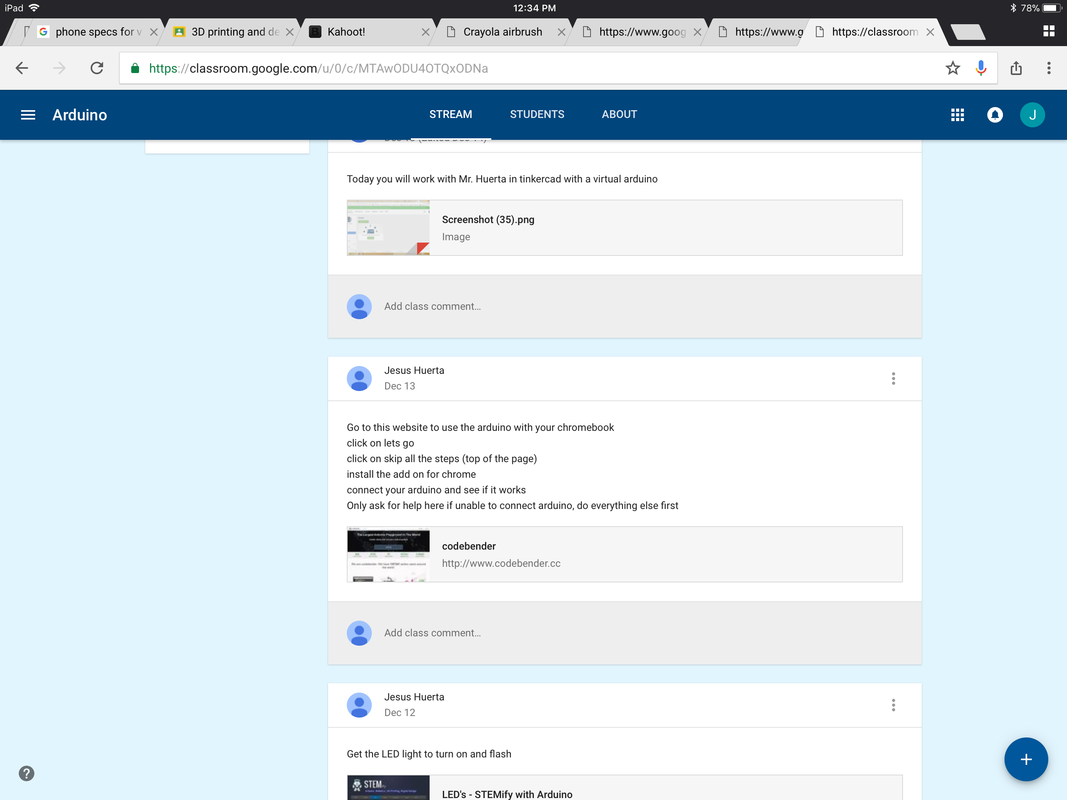
In previous blog posts I mentioned my take on classic station rotation but instead of focusing on small groups with ELA or math skills, I have students work solely on technology. I used hyperdocs with my students to get them started with each piece of technology, but I was using only one classroom and that became a big problem. One classroom for several stations...not a good idea!So we have thirteen technology stations we use: Snapcircuits, Piper computer, Play-doh touch, Into the Labyrinth VR, Microbit, Arduino, Robotics, 3D print and design, Makey Makey, Maze VR, Bloxels, Perler art and Crayola Airbrush. It's a lot and the mistake I was making was putting everything into one classroom! As you can see above, students were going in, getting lost and not sure where to go. That would kill the flow and excitement of our daily technology time. So what is a better way? Making a classroom solely for each station in Google Classroom! Quick overview on how to create classrooms!Click on each of the pictures below to see how to create your classrooms Go the classes area of Google Classroom and click the plus sign. This will open up a small menu and there you will choose the create class option. Here you will need to name the class and optionally to select the section. For this example I am creating the Crayola Airbrush classroom From here you will want to click on students to get the class code Here is the code you will use to give students access to the classroom Now lets do something about this generic background! Here you will change the back ground to something that ties into your classroom. Click on the highlighted area to upload a picture! Here you will click to upload a photo from your computer, so make sure you have one ready! Select the photo and then use the squares to crop and size it! Awesome! All set! Here is how the classrooms make it easier for students to navigate!So once all the station classes are made you have something like what is below. Way easier to look at, way easier to navigate and also easier on the teacher to insert instructions/assignments. Here is the Perler classroom with a set of instructions that will work for a whole week. Kids check and nothing new is there so they continue with the assignment. It also helps them to understand when to ask what's next. On the side, we have a classroom that has something changing almost daily. In the Arduino classroom, students will see instructions that may reference other posts from the same or previous day. Take aways and final thoughts...This allows students to be even more independent and really allows for teachers to facilitate. Students open their computer, check if there are any updates and then go from there. If students ask what to do when they finish a step, the teacher can refer back to the classroom. Eventually it becomes automatic and can allow for more time with exploring technology.
2 Comments
|
About me
Hi! My name is Jesus Huerta and I help kids find their creativity by making things! Tech comes second and all that jazz. Contact me with ANY questions at [email protected] Archives
April 2019
Categories |


 RSS Feed
