|
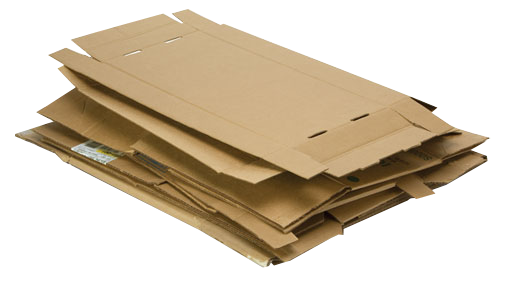
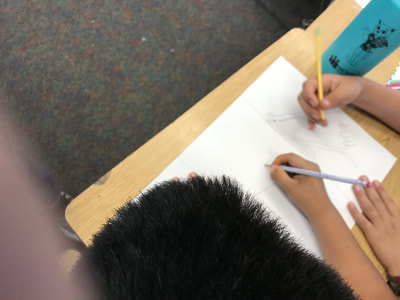
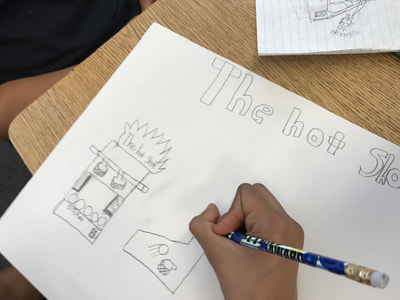
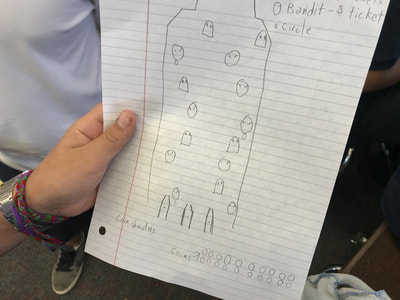
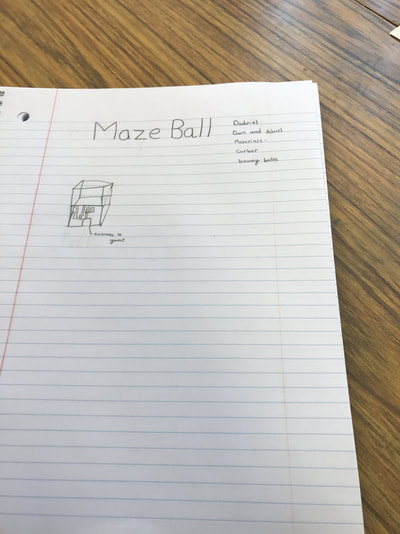
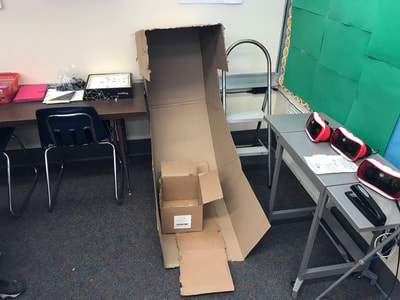
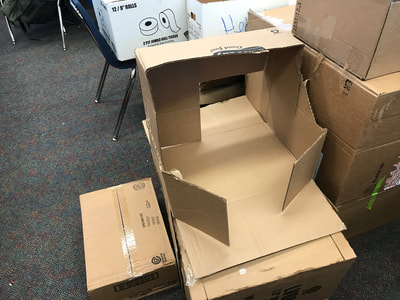
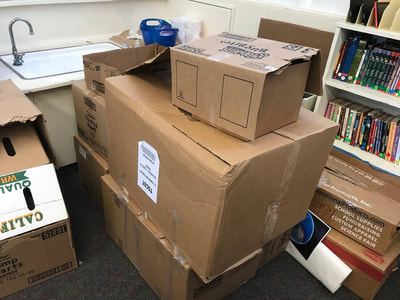
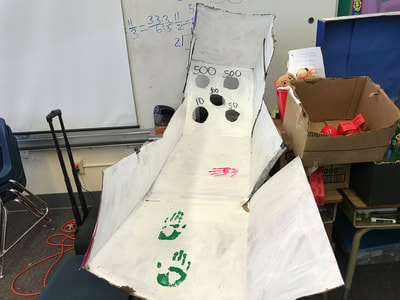
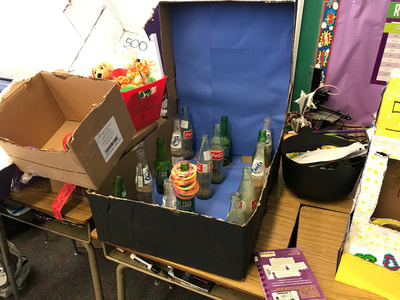
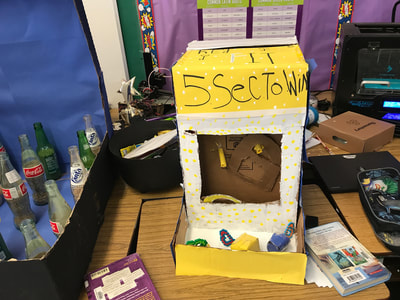
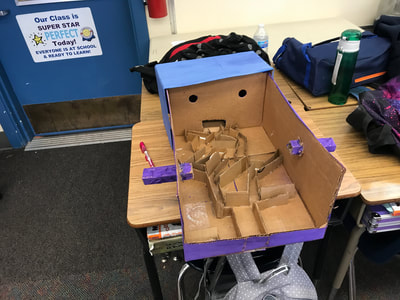
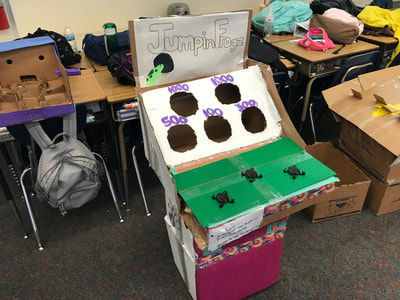
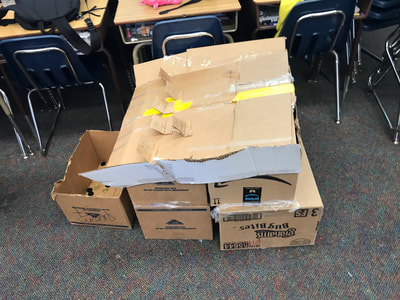
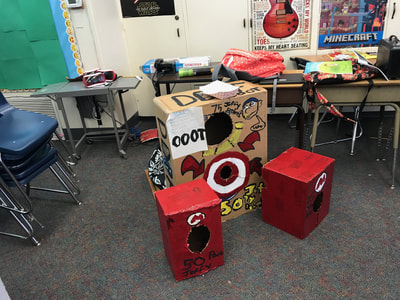
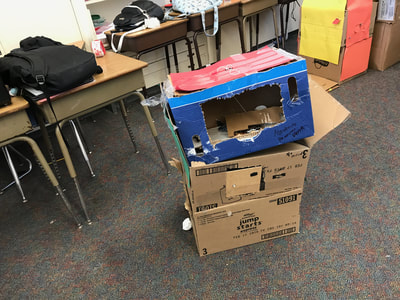
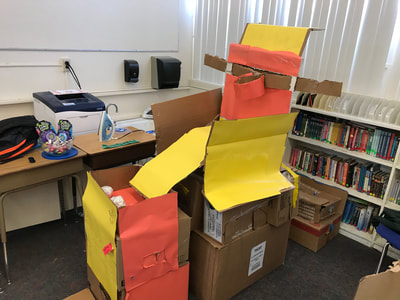
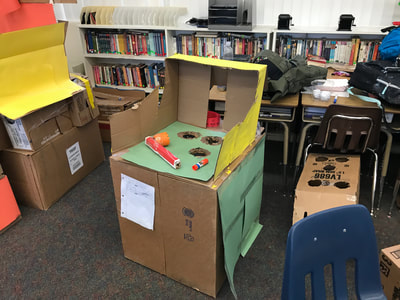
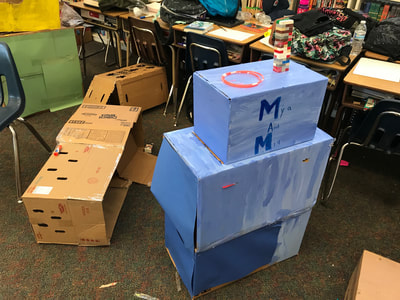
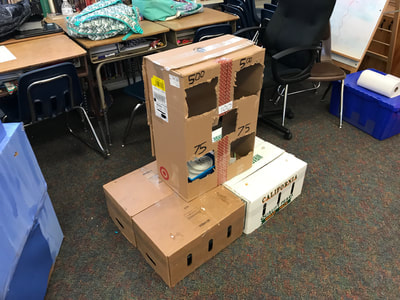
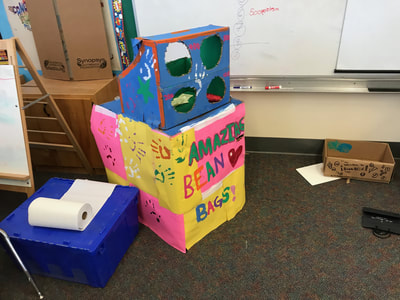
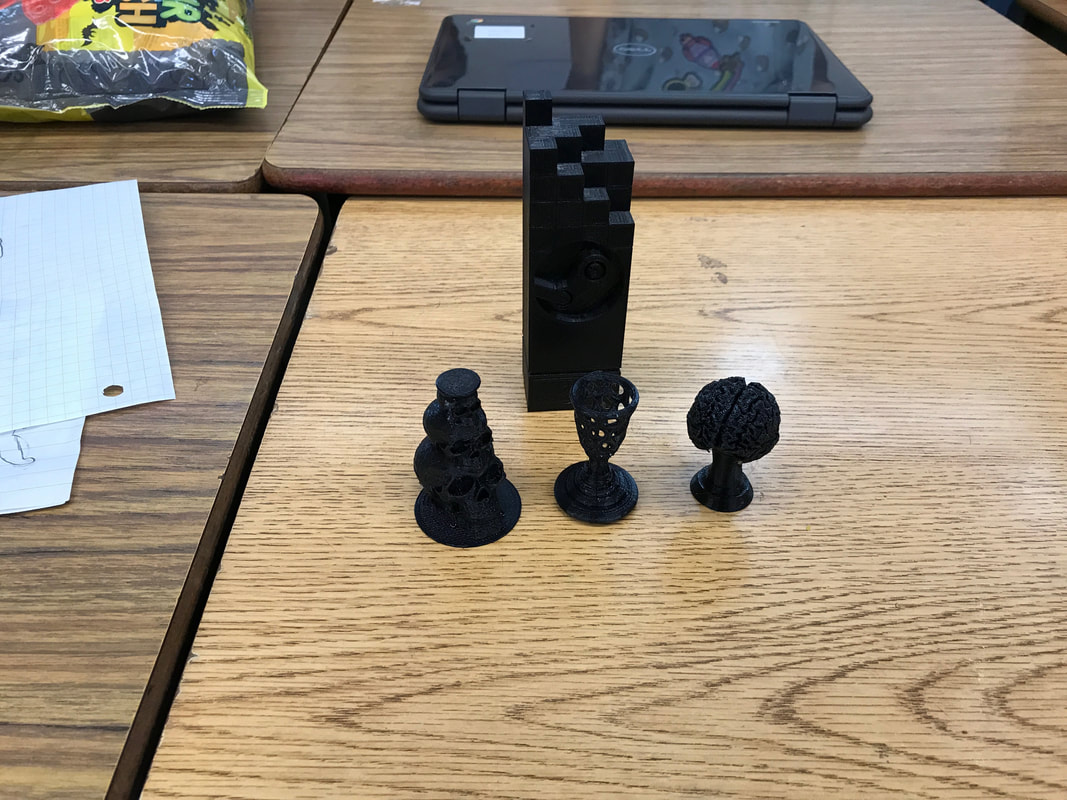
Below you'll see 3 great projects that will help your classroom get a jump start in creativity, teamwork, time management and more! I've listed them based on levels of difficulty. The cardboard arcade game projectStep 1: Collect lots of cardboard! First thing you need to do is grab lots of cardboard! Ask the cafeteria staff to hold it for you and this part will be a breeze! Next, you'll want to break the boxes down so you lay them flat and stack them neatly! BONUS: put the cardboard stack in plain site for a couple of days and the students will start wondering what it's for, but don't tell them! Step 2: Show this video Show this video about Caine's Arcade to get the students interested. Don't tell them yet what they will be doing the same and some may figure it out once the video starts but be ready for students to get interested in this video. Once the video is over, have a discussion with the students and ask great questions. Step 3: Create teams Here is where you will need to hold back the feeling to let kids cut up cardboard and all that good stuff! Instead, have them come up with 2-3 member teams. Next have them come up a team name. Now the kicker: have them choose the captain/team leader or you choose. This is where the project takes shape and begins to challenge students. Those that are afraid to lead may be the perfect choice. The students that can't follow may have a hard time listening to other's ideas may be a great choice also. These leaders will decide who does what and make final decisions. Step 4: Rough draft blue prints and then final version Here is where students will start creating! Make sure all students are working, interacting and involved in the brainstorming process. Use regular sheets of paper for the rough drafts. This will require lots of facilitating, walking around and listening to conversations. This may be something new to you but that's okay, let the kids collaborate and create something awesome! For the final version of their blue prints, make sure they have at least 2 different points of view drawn, list their team name, team members, name of the game and parts/materials needed. In some years I have provided everything and this year I had a lot of students offer to bring tape, parts and materials. Letting them bring in those items gives students a real sense of ownership with their games. Use larger pieces of butcher paper so they have plenty of room for details. Create a blue print of something that you can draw in a couple different points of view as an example and model the information that needs to be on the blue prints. Most importantly: you need to okay their finalized blueprints before they can get any cardboard! This will save you tons of time and headaches! Step 5: Cardboard, how to handle it and handle the mess that comes with it! First thing you need to understand is that your classroom may become messy during this project. It's okay, don't stress out and go with the flow. The end product will be great and use this as a way to push the idea of keeping a neat work space. This will also allow you to push the idea of time management, since the time to work on these games will be limited to a specific amount each day. Some groups may want to take 4 or 5 pieces of cardboard, please don't let them. Instead, let them take one to two pieces at a time and have them prep those pieces as needed. This will help to avoid any conflict with some groups taking too much when it is not needed. It will also help the students to focus on completing certain aspects of their game. Again, you will facilitate, offer tips and so on. I used 30 minutes a day with my class and gave them two weeks to complete their game. Something else you will want to avoid is using scissors. Yes, avoid using them because students will begin having a difficult time cutting the cardboard and may resort to using them as saws. This is dangerous and can lead to cuts, poking and worse. Instead you will want to show students a different method: they need to fold and then tear the cardboard. This is where students will begin to put cardboard pieces together and adhesives will be needed. Here are some good options: Packing tape, glue and hot glue guns. Depending on the age of students, you may want to use only packing tape or Elmers Glue. See below for some great examples of student games as they start to take shape! Step 6: Teach students about deadlines and time management Easily one of the best parts of this project has nothing to do with creativity but instead with a skill that cannot be taught in a textbook. Students will learn responsibility by understanding time constraints that will force them to be on task or produce a game that is not as polished as others. This is an area where some students may have difficulty if they have never been challenged to meet a deadline. Also, to push the idea of maximizing time, don't allow students to stay after to work on their creations or to take stuff home. Stress it to students that the allotted time is to be used wisely and that all the team members need to be active. For me 30 minutes a day is perfect! Step 7: Decorating and finalizing games If students ask to color a part of their game, advise them that the game needs to be finished and playable. By having this goal in place, you can avoid having students paint or color as they are still figuring out how to make the game they designed earlier. This will also help them to understand that if it doesn't work, they will need to go back and make changes. Again, you are the final judge on whether it is done or not. Make sure to let students know that they can't get any paint, butcher paper, etc till you give the okay. Once students have finished, give feedback on their game and allow only minor changes. Below are some examples from this year and I was really impressed! Last step: Invite classes and reflect! The last part of this project is to share what your students have created. I always invite the principal and vice principal first. The next thing I do is invite upper grade classes and have one per day but this may vary depending on how many 4th, 5th and 6th grade classes at your site. As an added bonus, I 3d printed trophies to give to the game that got the most votes from each class that visited. Using slips of paper, have students that are visiting write down the name of their favorite game and reward those that win! See below for some example trophies! Each of the 5 days you have visitors, have students reflect with a one paragraph response to a question or prompt. I like to ask some of the following questions: "What was the most difficult part of this project?" "What would you have done differently?" "What was your favorite part of the project?" Some thoughts...
This is a big project in that it takes up a lot of space but also in the areas it addresses for students. Here are things students will learn and extend during this project: Design process Time management Teamwork/collaboration Engineering Public speaking skills Presentation skills Please make this lesson your own and leave a comment on anything you may have a question about. Also, please give it a try and don't quit if you feel like you are losing control during some part of the project. Take a step back and see what is working and not working, then make the necessary changes. It's a great experience for students and the pride they have with their games is one of the best parts of doing this!
1 Comment
|
About me
Hi! My name is Jesus Huerta and I help kids find their creativity by making things! Tech comes second and all that jazz. Contact me with ANY questions at [email protected] Archives
April 2019
Categories |
 RSS Feed
