|
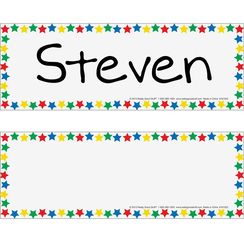
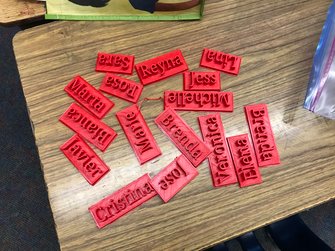
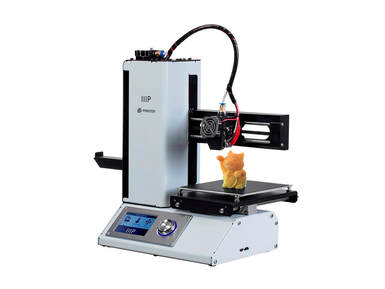
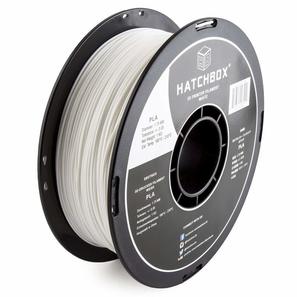
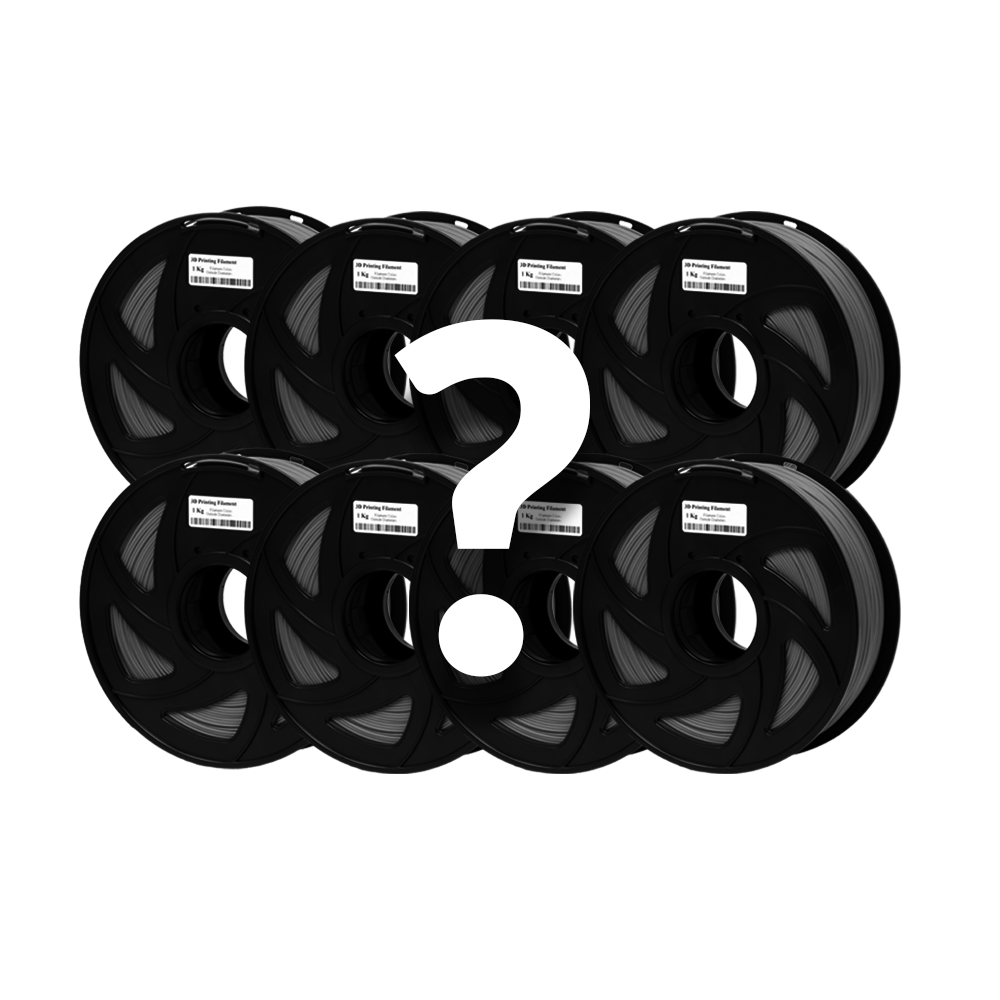
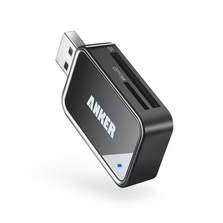
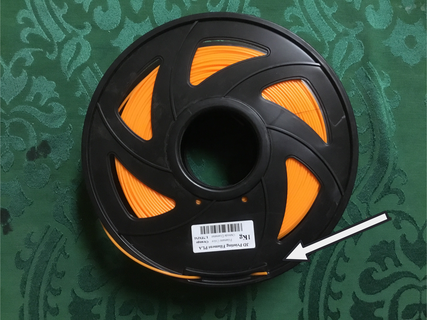
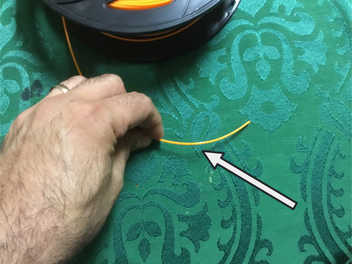
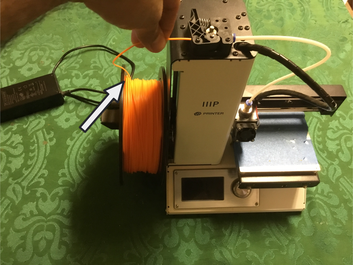
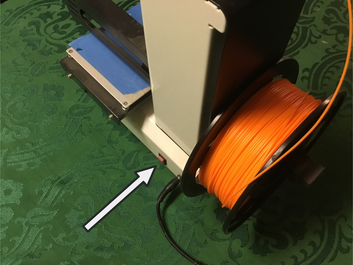
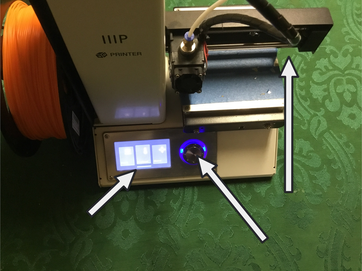
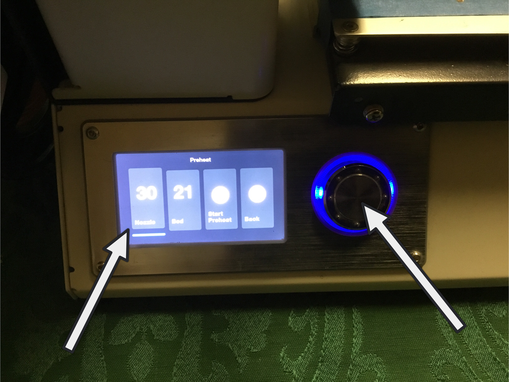
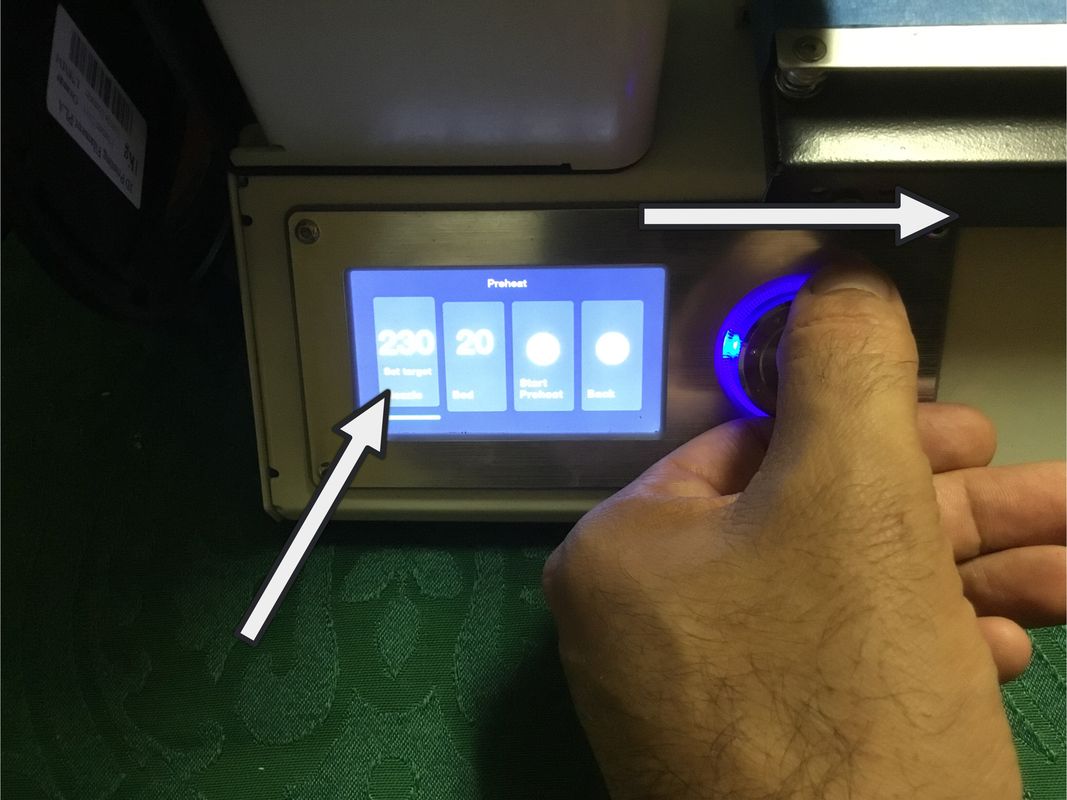
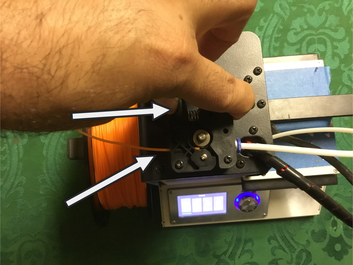
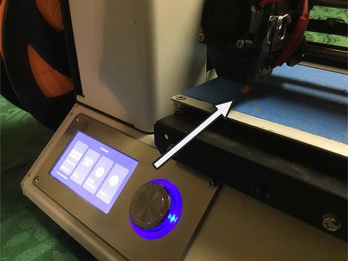
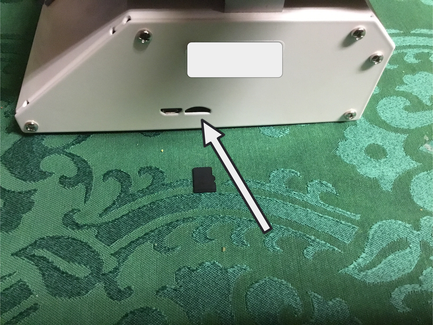
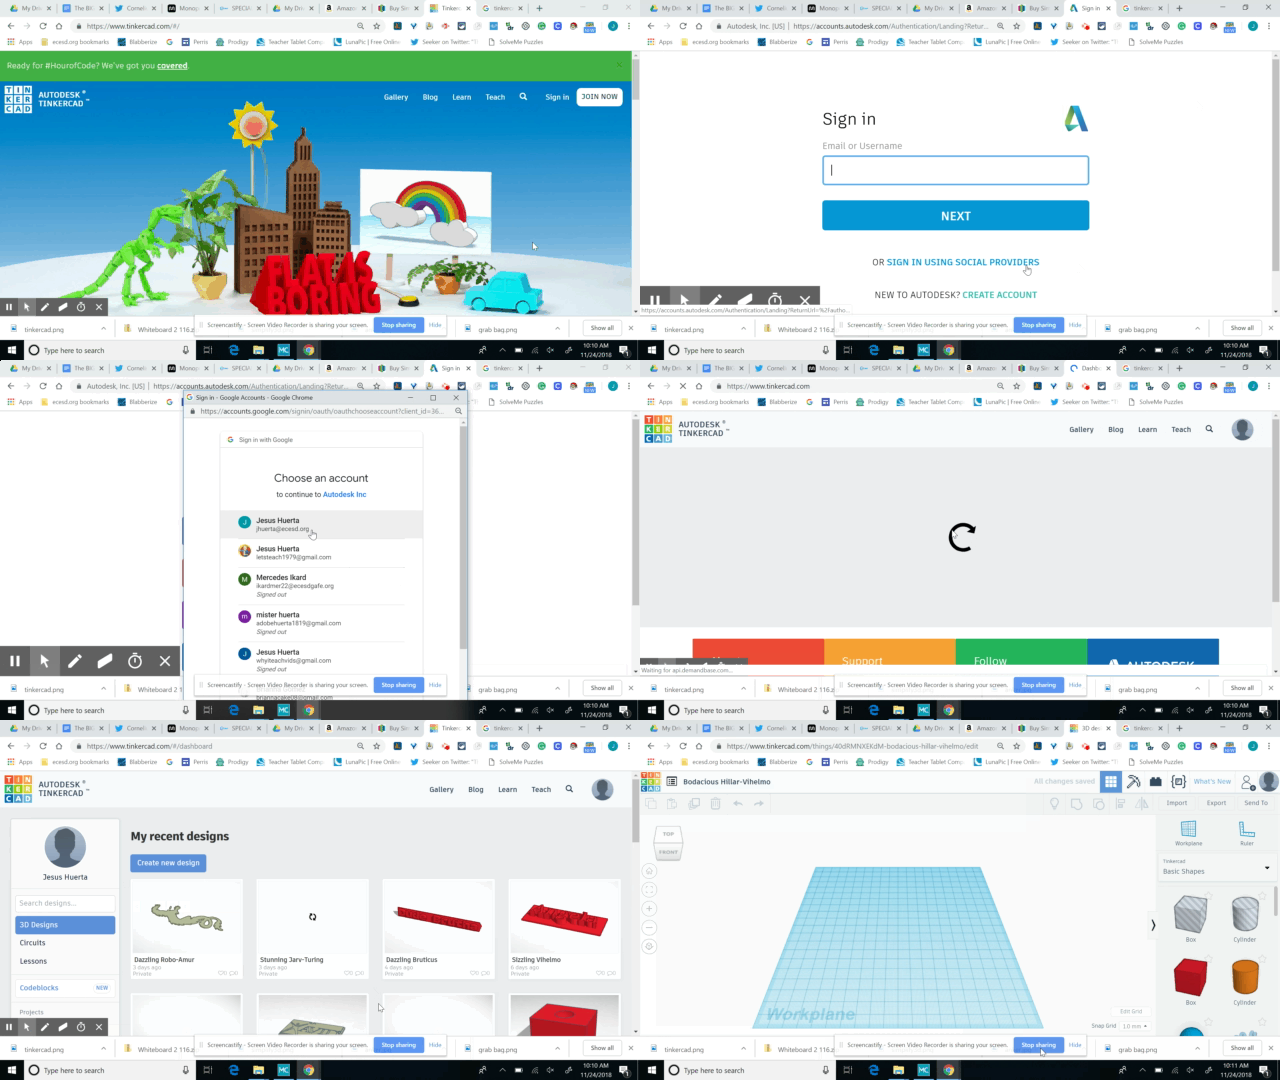
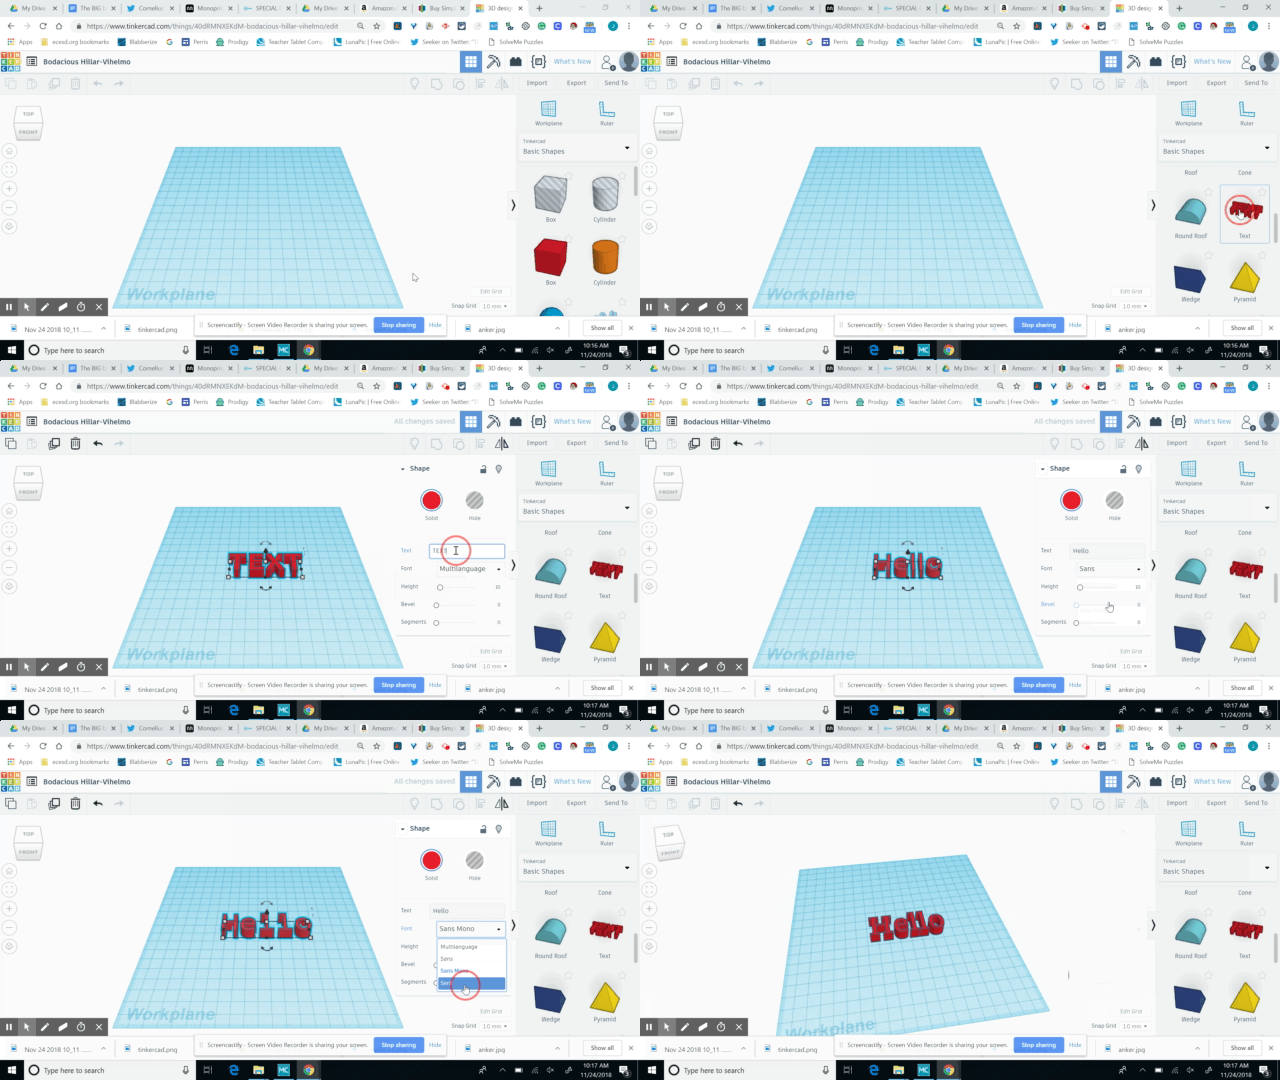
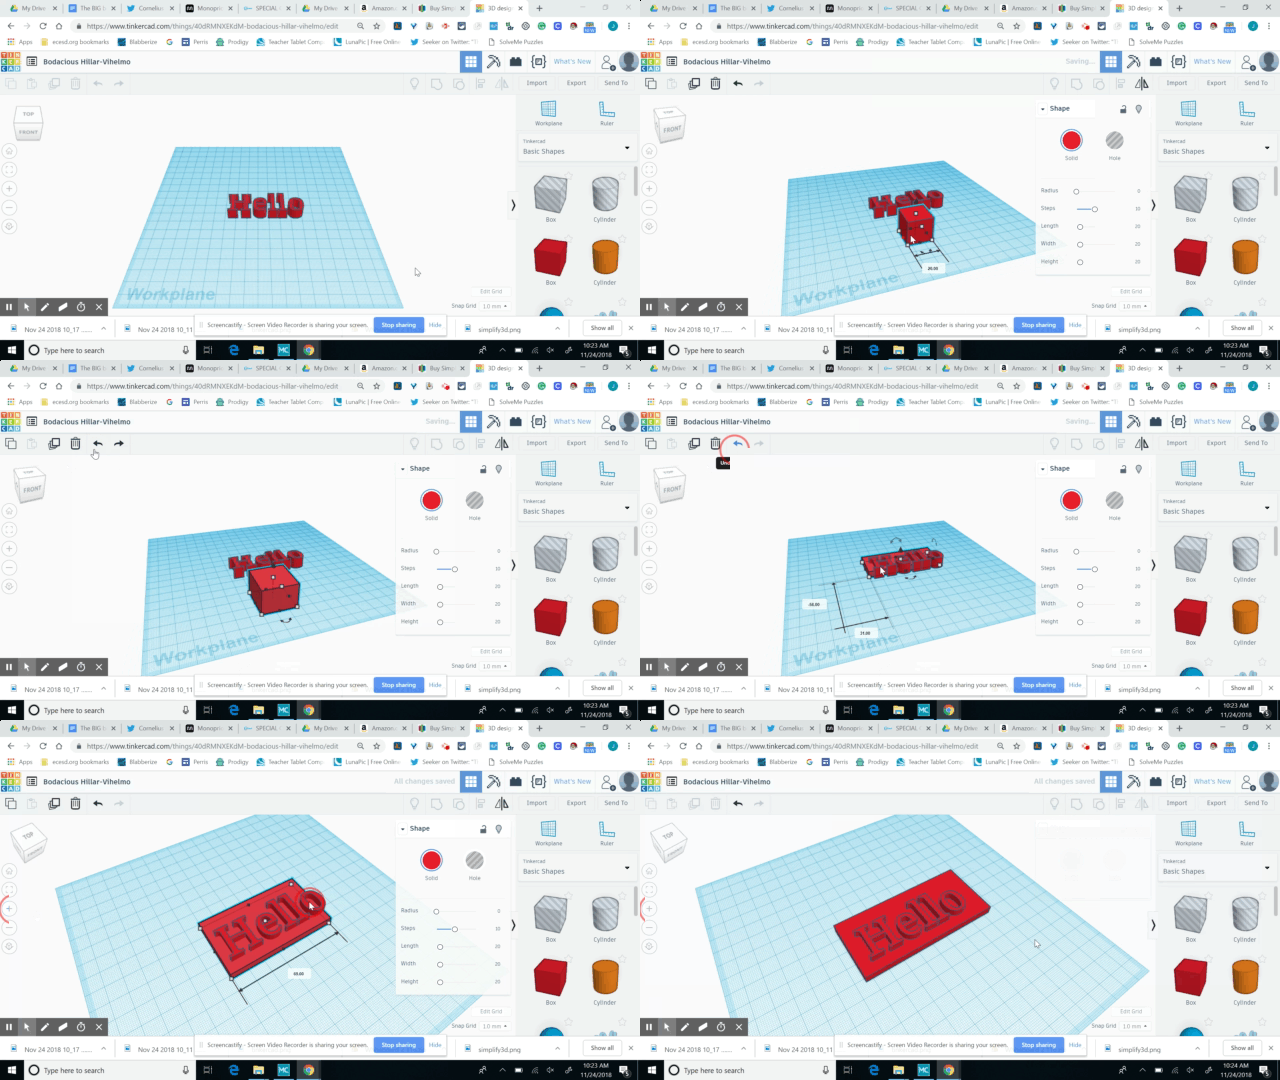
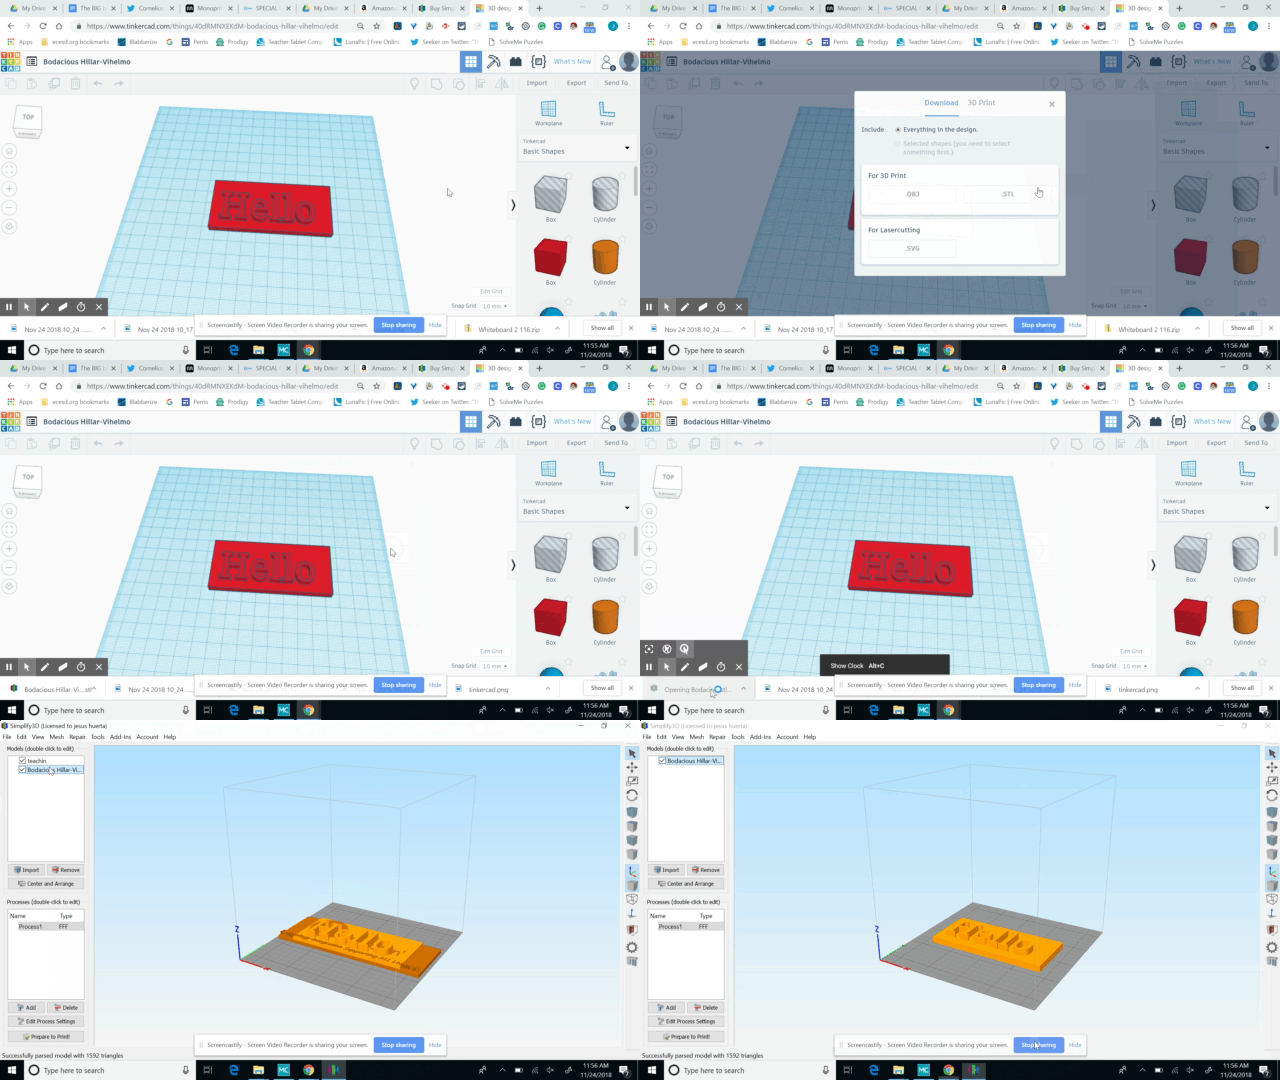
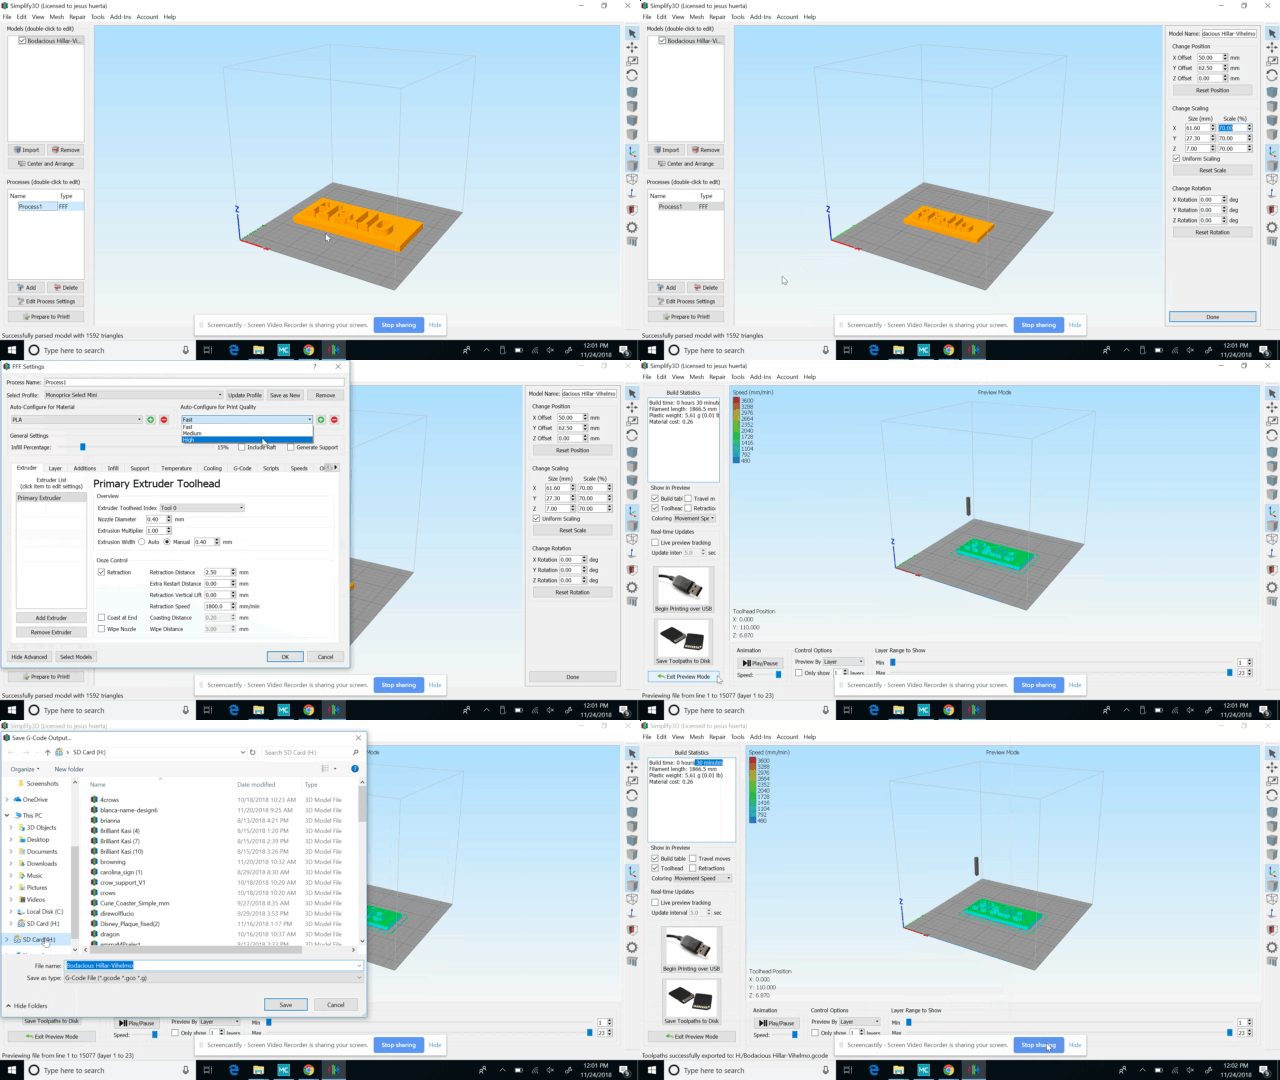
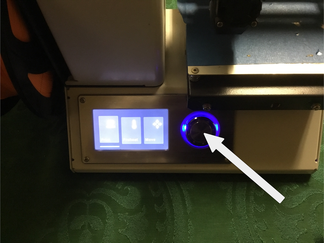
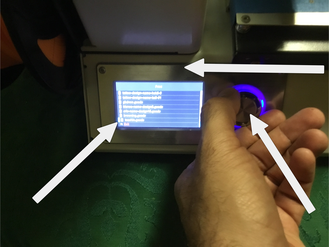
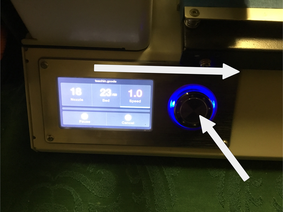
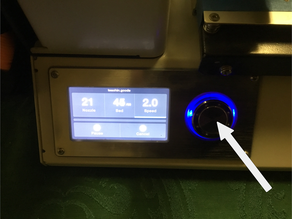
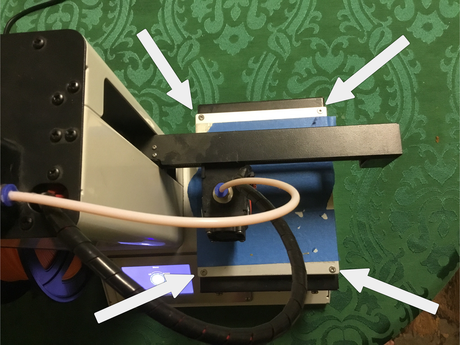
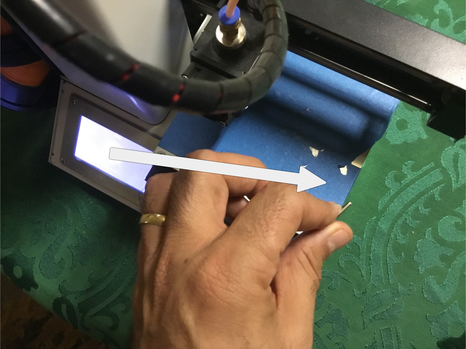
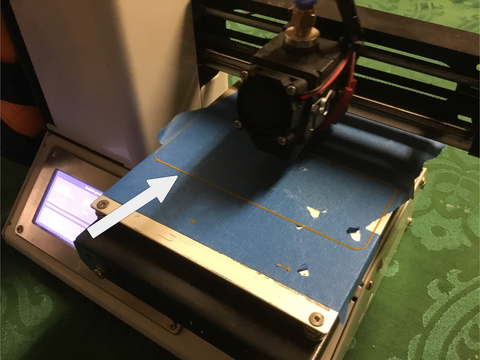
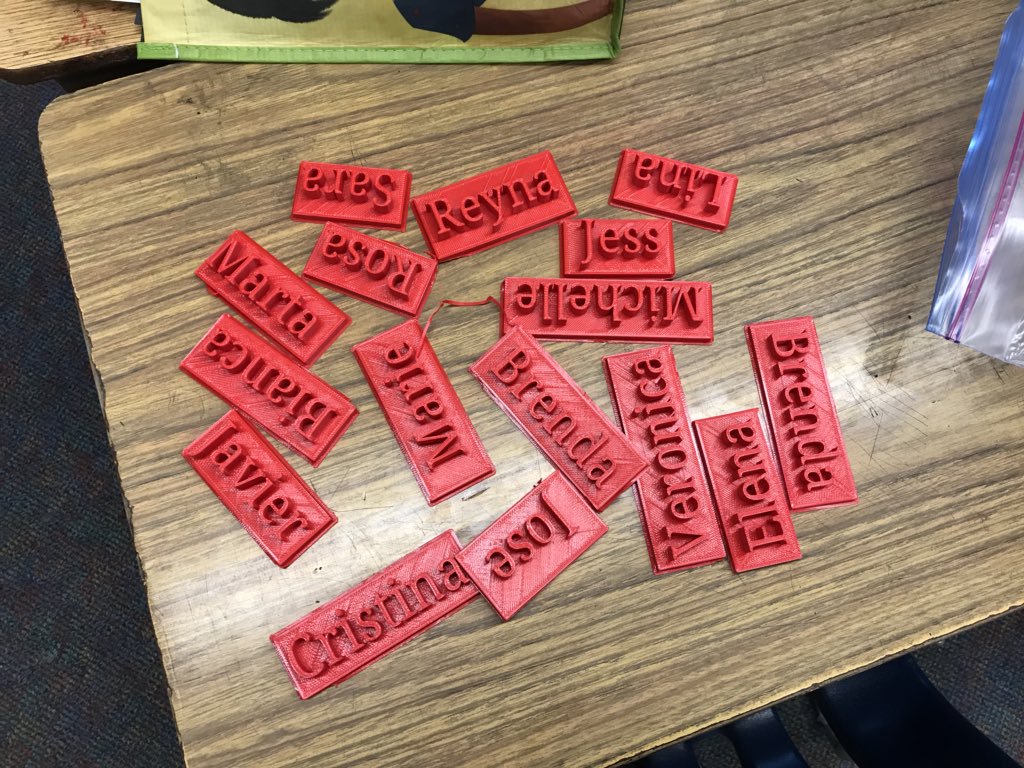
Name plates for the first day of school Usually when we greet our students the first day of school, we ask them to find their desks and they are greeted by these: What if instead, we greeted them with these: While this may take much, much longer than writing names or having the student decorate their own name tags, there are many hidden benefits to creating 3D printed name tags. You will create a sense of wonder by giving your students something they can hold in their hands, created specifically for them and that they can take home to mom and dad. You will also build curiosity in your classroom because the first thing students will ask is how did you do this or if THEY have a 3D printer in the classroom. This is huge and will lead to conversations about what else can be created. You can then build off of this by showing videos related to 3D printing, having other items to pass around the class and having the 3D printer running when students walk in the first day of class. From this simple gesture you will be able to leap frog into design challenges, incorporating 3D printing with projects and so much more. Here’s what you will need to get started: 3D printer Filament Card reader Windows or Mac computer Simplify 3D Which printer do I use? Having a 3D printer (or more, but I’ll address this later) doesn’t mean it has to break your bank. You can start printing in your classroom for less than $400! While searching for 3D printers, you may see some that are able to print bigger or have extra options but you won’t need anything too high end for an elementary classroom. I use the Monoprice V2, it runs for $189 and comes out of the box ready to go. The only thing you need to do is attach the side arm where the filament will be hung and remove the white packing tape one some of the components. What is filament? This is the plastic that is fed through the printer, melts and creates the objects! I use PLA filament because it is odorless, strong and inexpensive. A roll of PLA on Amazon can run around $20 but a great place to get some is through Zyltech. They offer a grab bag of eight rolls for $90. Card reader Just in case your computer doesn’t have a MicroSD reader, you will want one of these: Windows or Mac computer In order to run the software that will print out the name plates (and future creations) you will need either type of computer. There is no reliable way to set prints with a Chromebook at this time. Simplify 3D software This software is really great because it will have all the settings to get great prints off many of the popular 3D printers that exist. This will set you back $150 and allow you to install the software on two different computers. Setting up your 3D printer The first thing you will want to do is get the filament loaded. Once you have removed the filament from the box and its plastic packaging, you will want to cut off the end that has a kink in it with a pair of scissors. As you see below, it will be just a little length that you need to cut. You’ll want to put the filament on going in this direction, which will allow the machine an easier time feeding the filament. Don’t feed it through just yet but place it in just a bit so you have it ready. Now look on the back and flip the red switch to turn it on! Next push the build plate back, it will move freely when it is not printing. Using the dial and rotate it to the right so that you are on the preheat setting in the center. Now you will want to click on the dial, as it acts as a button also. After you have clicked in the button you will have another menu popup and here you will go ahead and click again. It will already be set to nozzle, which is what we want to preheat. Click in the dial again. Now you will want to rotate the dial to the right and get it to 230 degrees. Once there, click the dial again and it will be set. Now rotate to start preheat and click the button again. Once it reaches 230 degrees, go to the top and push in the lever so you can feed the filament to through the tube. Keep it squeezed in and push till it gets through the end. You might feel a spot where it gets stuck but push a little harder since there is a lip it needs to go over. Push the filament till you get a little gob of filament to come out. The next step is to take out the micro SD card on the side and connect it to the computer with Simplify3D installed on it. You will also return the micro SD card to the same spot to select the model that you will print later. Okay, great now the filament is loaded! Now let’s make some student name tags! Let’s head over to a great design site called Tinkercad by clicking on the logo below. See below on how to log in using your google account. Once you have created it, skip the tutorial by clicking on the tinkercad logo as seen in the video. Now we will get the name of a student typed up. Scroll down on the side and you will see the text block. Click on it and then click on the design area, which will place the block. Then there is a field to type in a name or whatever you would like. See below for a video walk through. If the name is printed just like this, the letters will come loose, so we will need to have a plate underneath the letters. See below for a walk through on on to place a plate and how to manipulate blocks. Now we need to take the file out so it can be printed. Click on export and select STL. The file will then be downloaded onto your computer. Click on the file to open it and it will launch the Simplify3D software. If you have a previous model there, just click on the name of it and hit backspace to remove it. Once the file is loaded, you can change the size of the model by double clicking it. Changing the size will change how long the print will take. When you click on the edit process settings button, there are various options. Click on the quality drop-down button and choose the quick setting. The quality will still be great at this setting. Now you will click on prepare to print and you will see how long your print will take. Finally click on save toolpaths to disk button and select the micro SD card to save it for printing. Insert the micro SD card and turn the printer back on. Once it is on, click on the dial to select the print option. After you click it in, rotate the knob to the left which will bring you back around to the bottom of the list of models on the SD card. You will do this once you have a lot of files on the card but the first few times you should see the file you are looking for right away. Find the file and click on the dial to select it to print. Once the item has been selected you will rotate to the right and select the speed option. Click on the dial and and then rotate to the right and set the speed to 2.0. This will make the print go faster and for most prints it will not affect the quality of the print. When you set your first print, you will need to balance the build plate, which the rectangle area that will have the print on it. There are four screws that you will use to lower and lift the build plate. Rotating to the right will tighten the screws and lower the build plate. Rotate each screw a few times to lower it. By being too low, the nozzle will not make contact and will look like noodles when printing. By being too high, there will be too much contact and it will cause the print to be very difficult to remove. This can cause the build plate tape to rip, which you can replace at a later time but we should avoid that as long as possible. Use the provided tool to lower the build plate. Once you have lowered it a bit, set an item to print. Watch it print and see if it makes enough contact. It should look something like the example below, where it adheres to the build plate. You will need to stop some prints and adjust the build plate by rotating left to raise it up for better contact with the nozzle. This will take time because you need to adjust it just a bit and gradually get there. Once you get that first print done, you'll be all set to making a collection like these for your students!
2 Comments
8/21/2020 06:29:29 am
After study a few of the blog posts on your website now, and I truly like your way of blogging. I bookmarked it to my bookmark website list and will be checking back soon. Pls check out my web site as well and let me know what you think.
Reply
3/4/2024 06:47:21 am
Animation software is a digital tool used to create animated sequences, characters, and effects. It provides functionalities for designing, editing, and rendering animations for various purposes such as films, games, advertisements, and presentations.
Reply
Leave a Reply. |
About me
Hi! My name is Jesus Huerta and I help kids find their creativity by making things! Tech comes second and all that jazz. Contact me with ANY questions at [email protected] Archives
April 2019
Categories |
 RSS Feed
