|
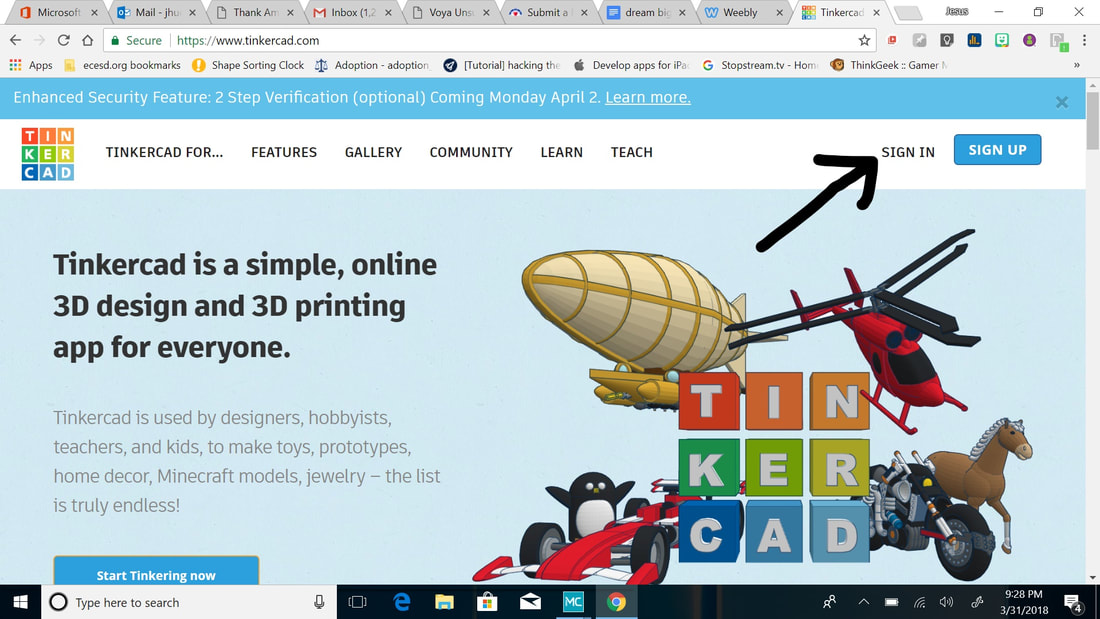
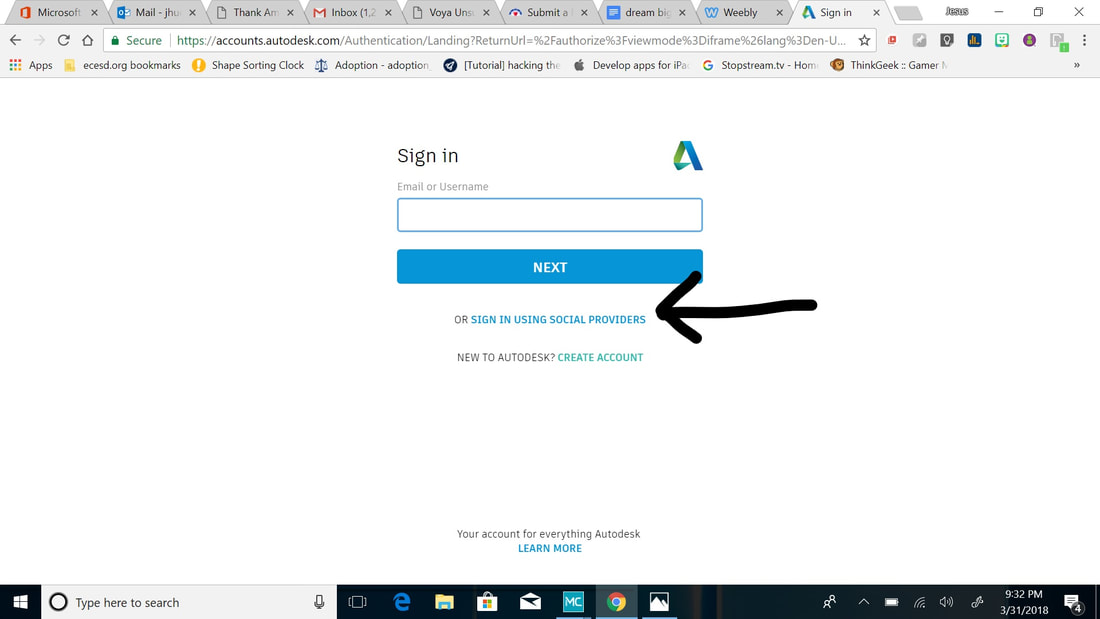
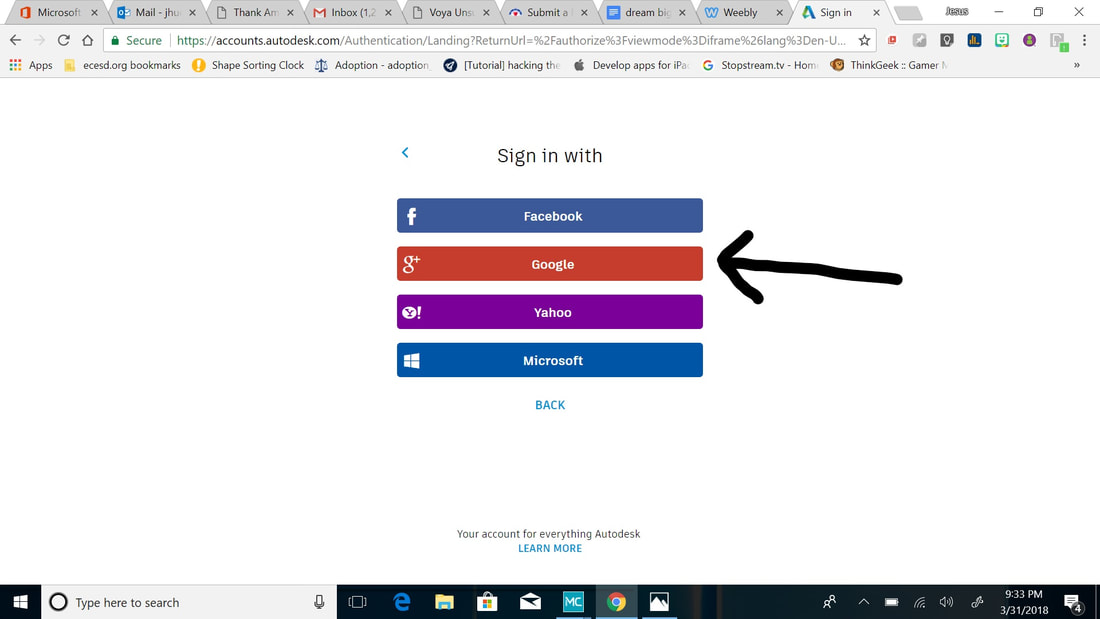
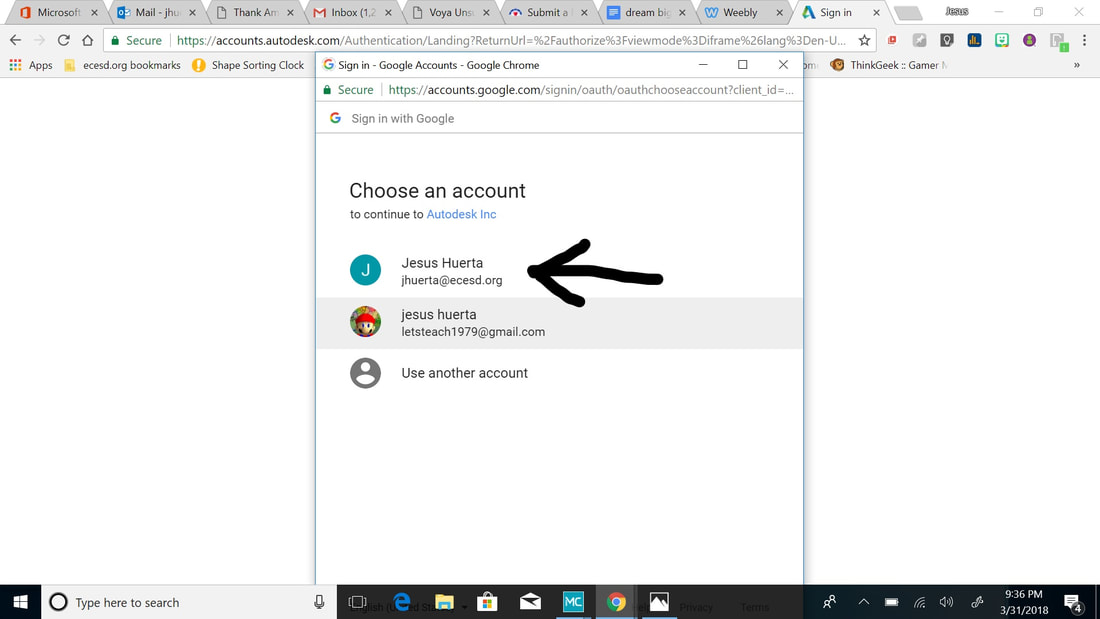
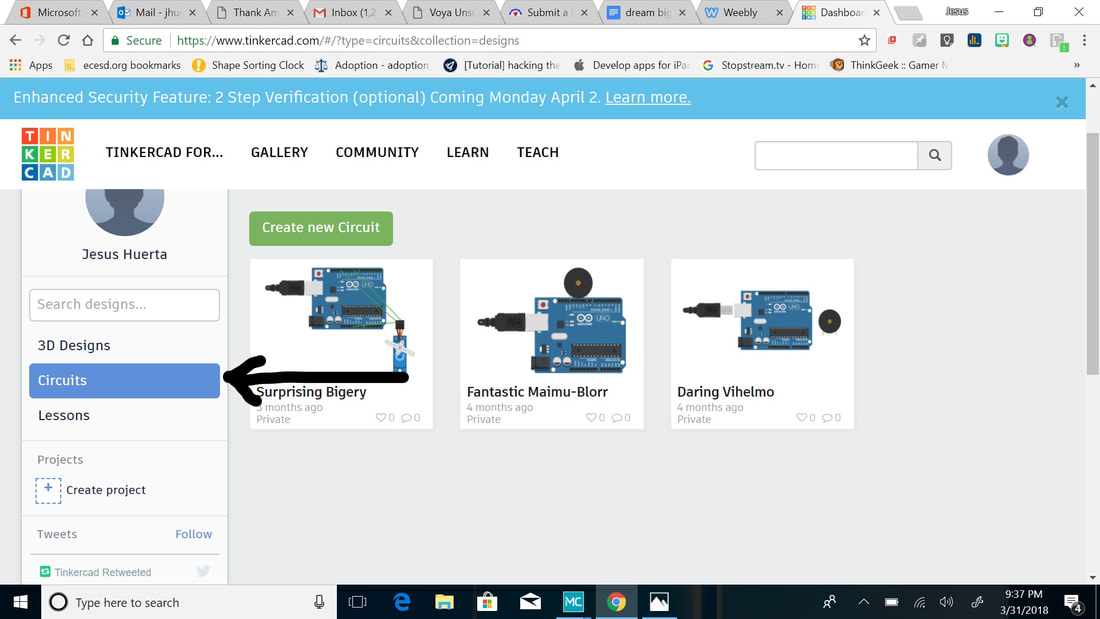
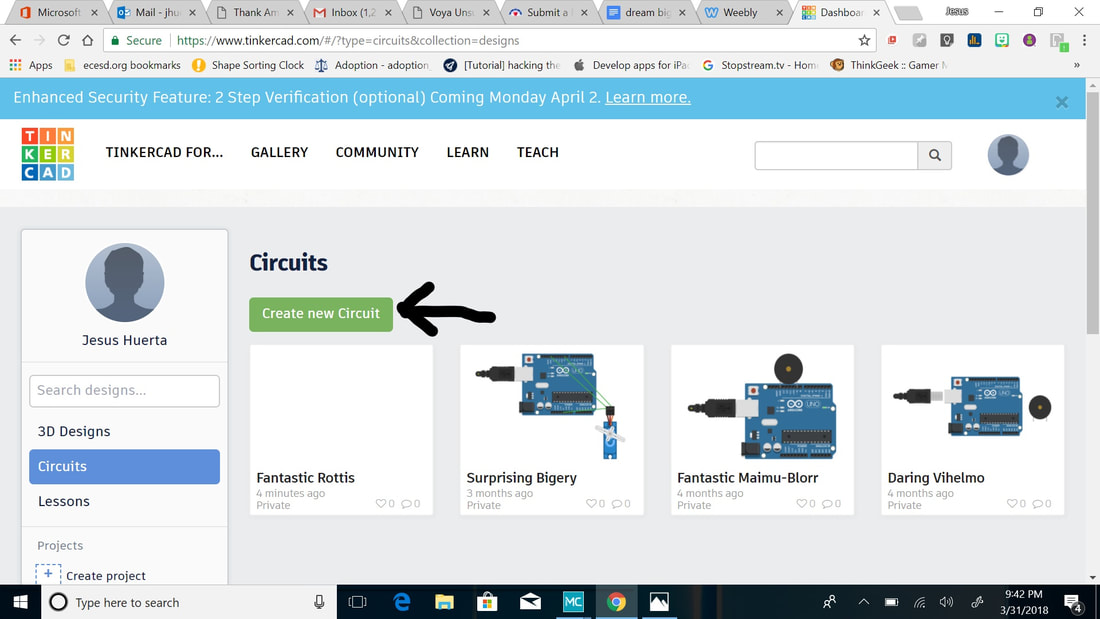
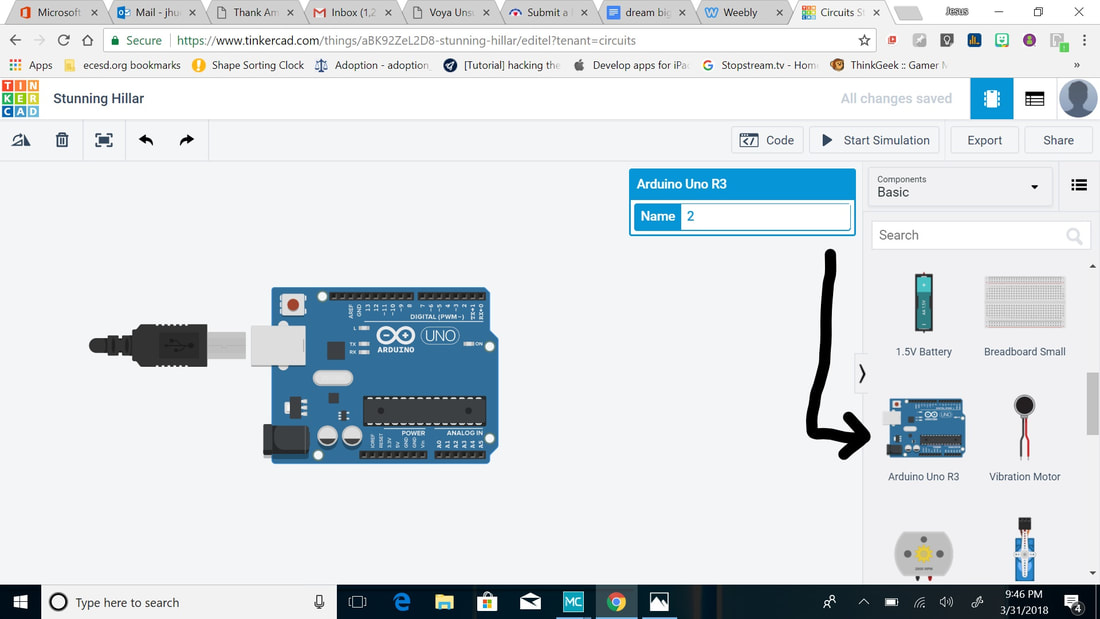
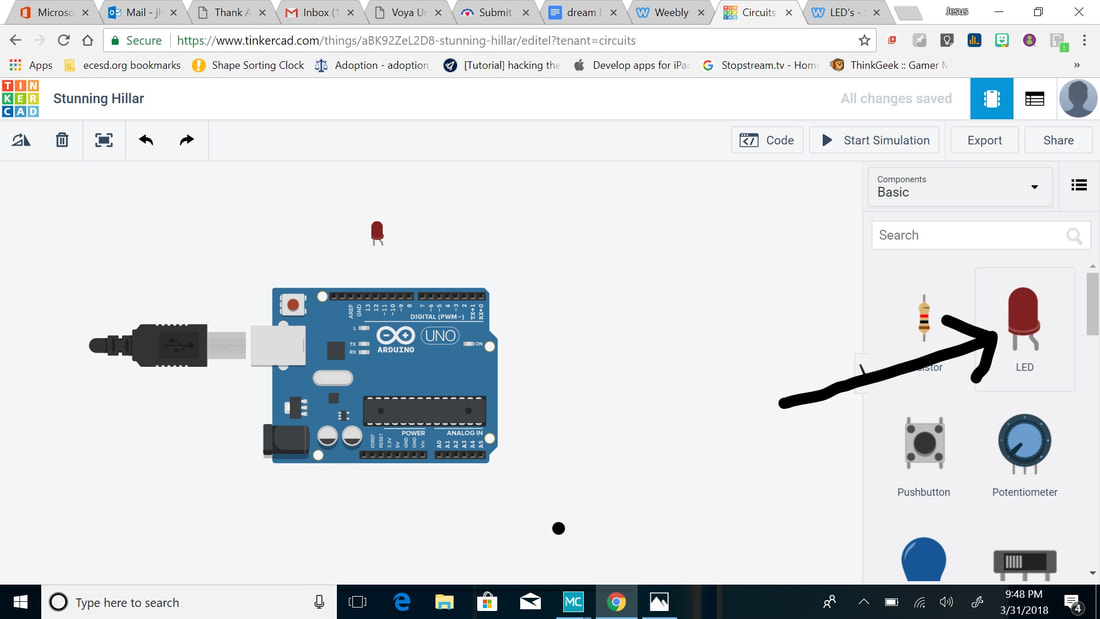
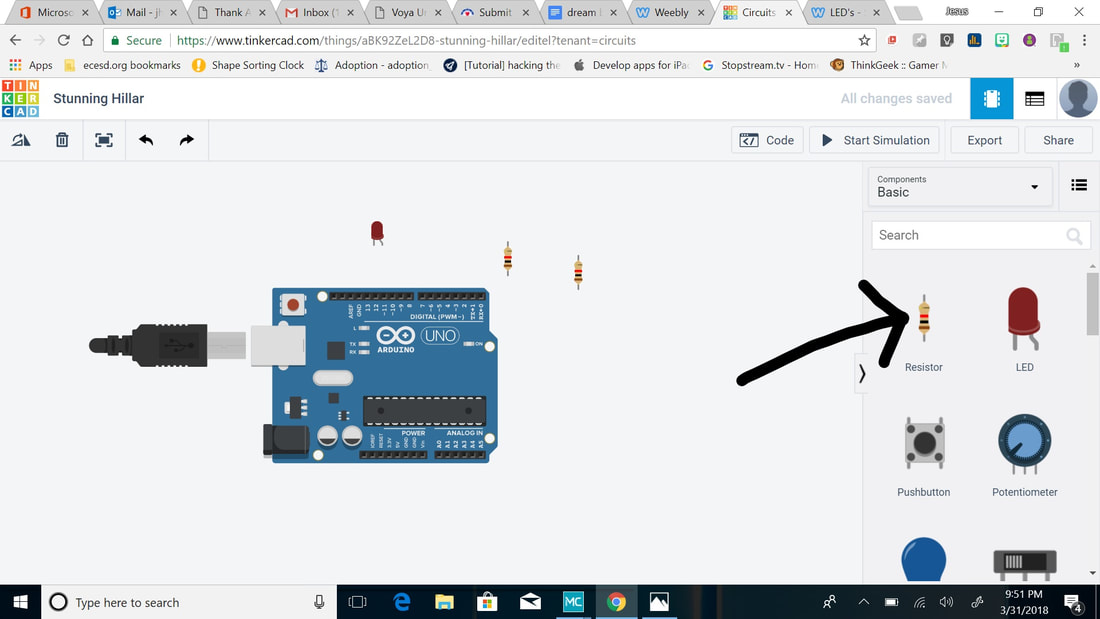
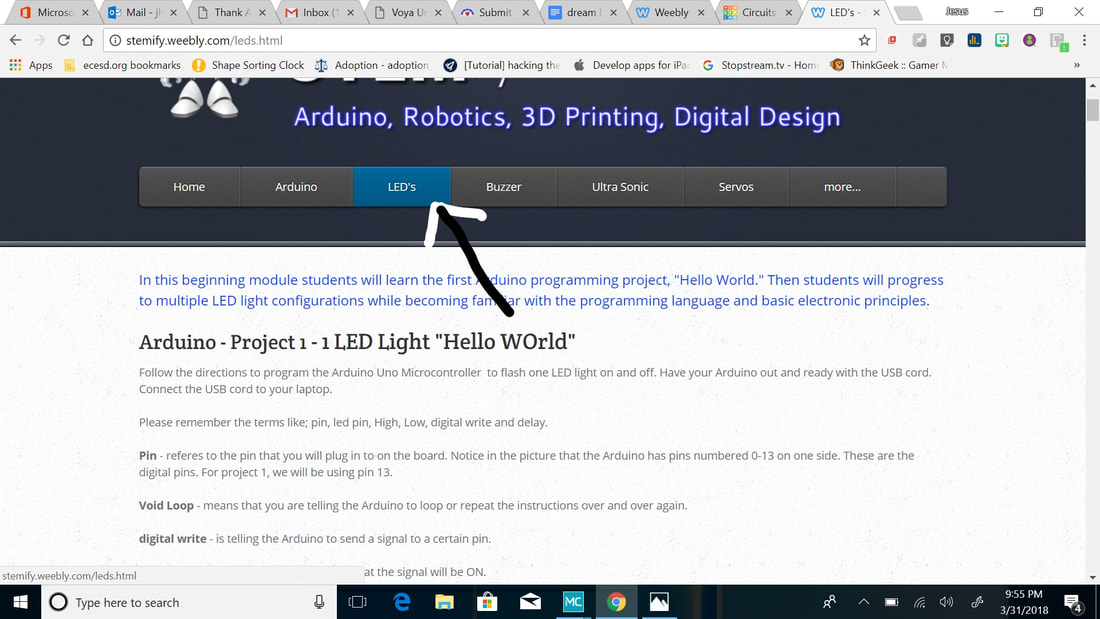
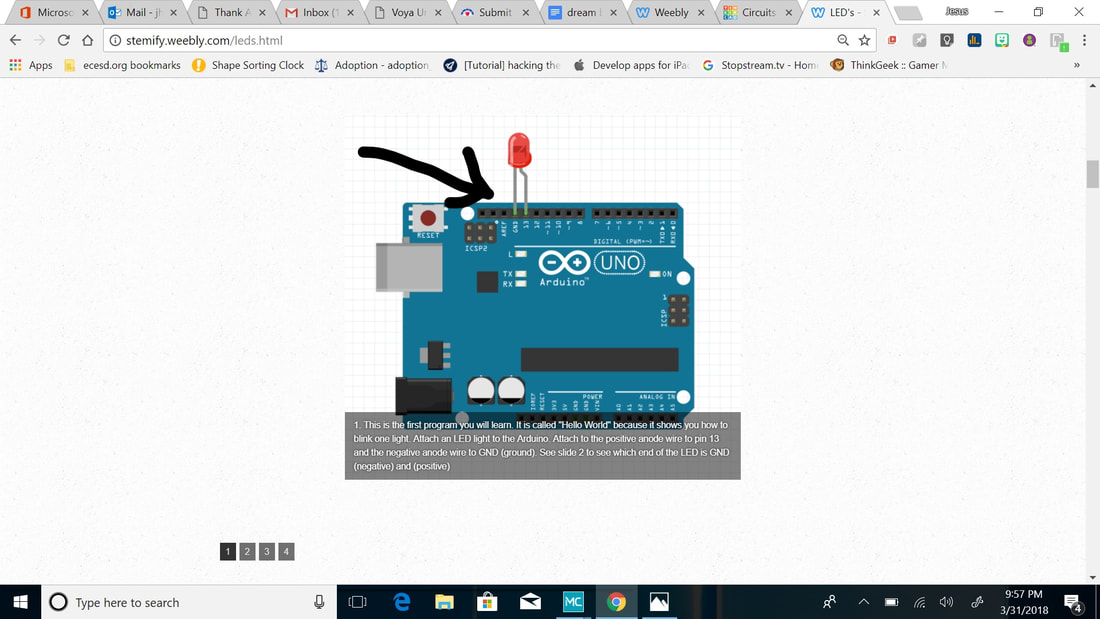
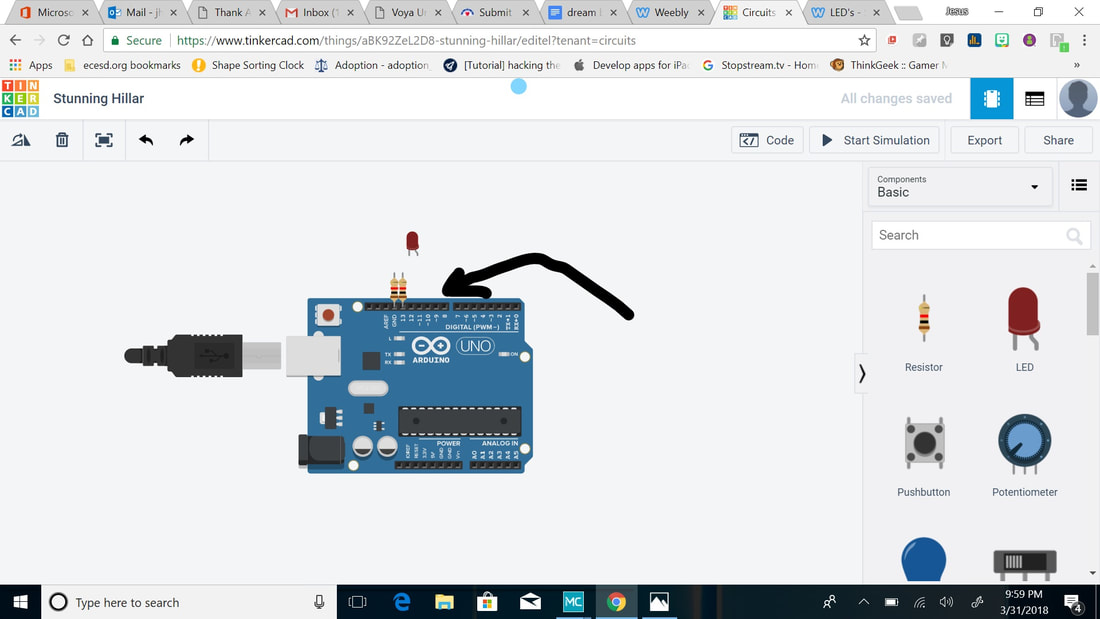
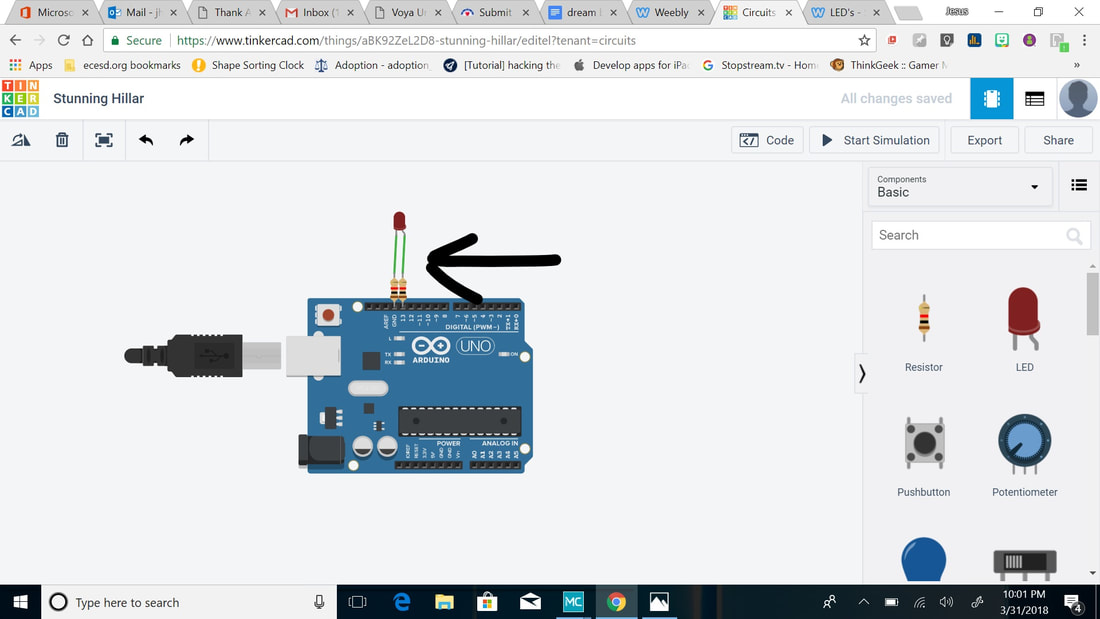
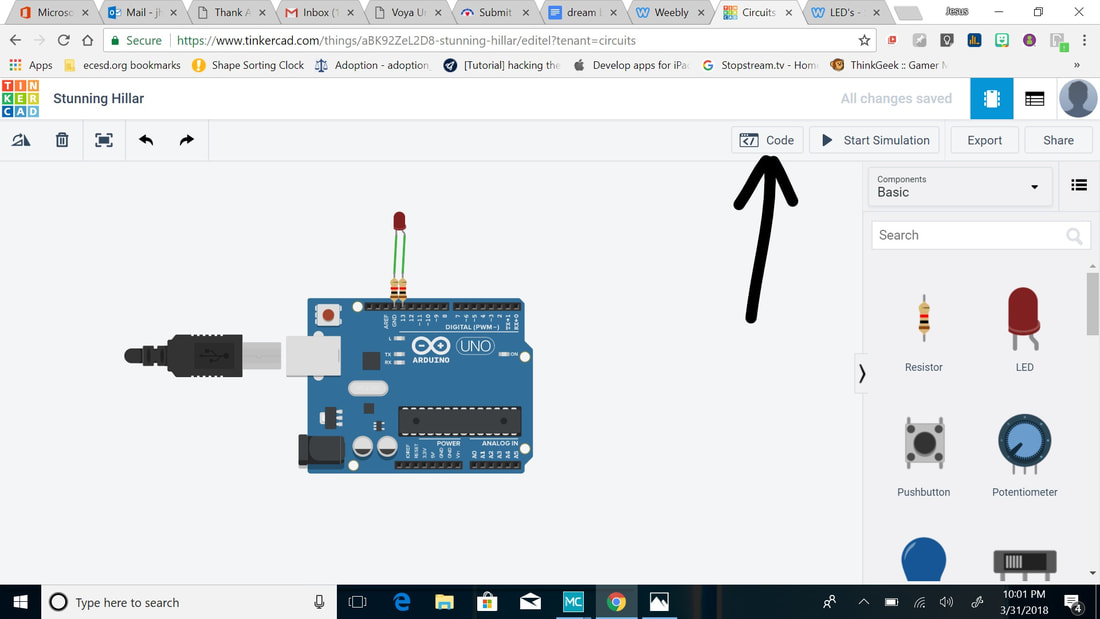
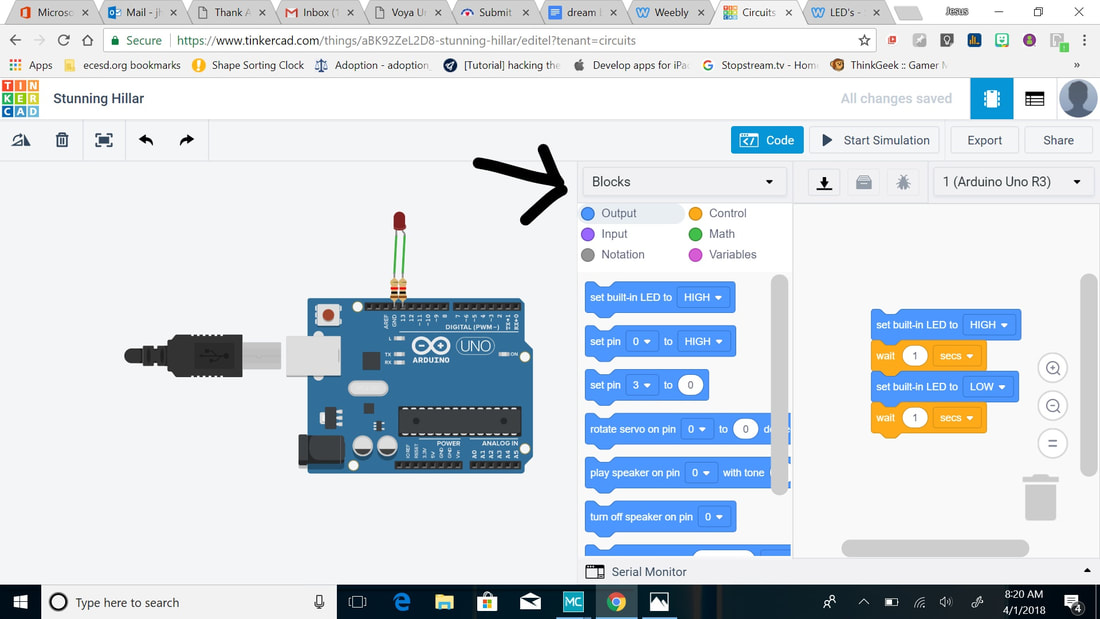
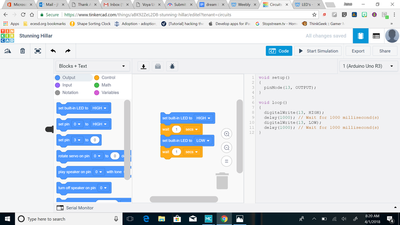
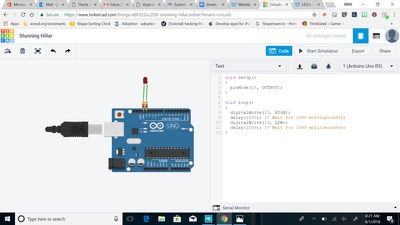
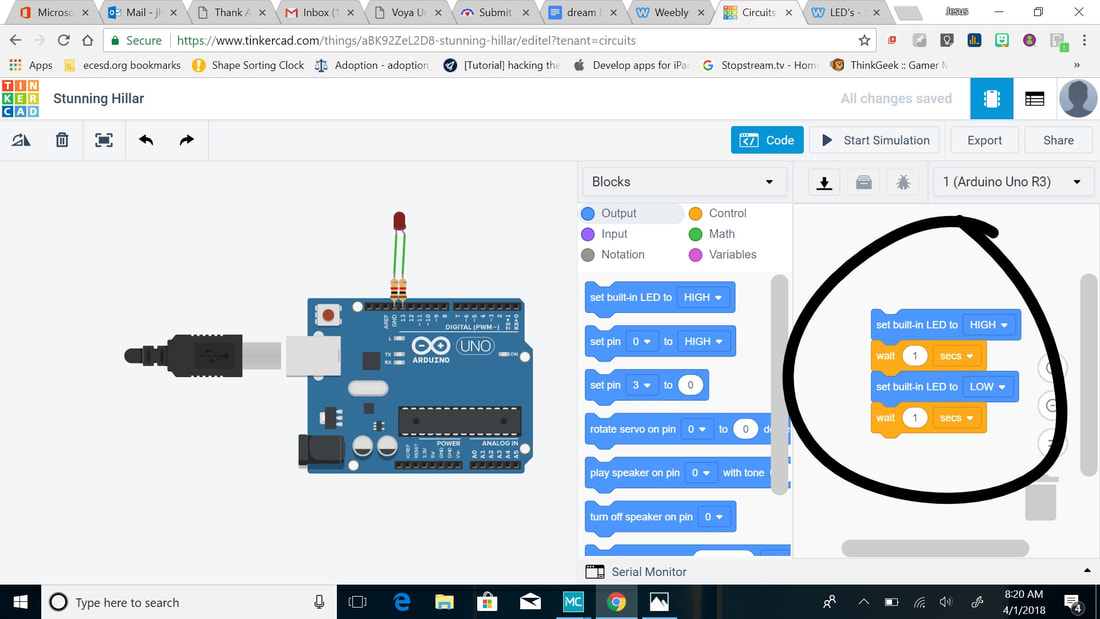
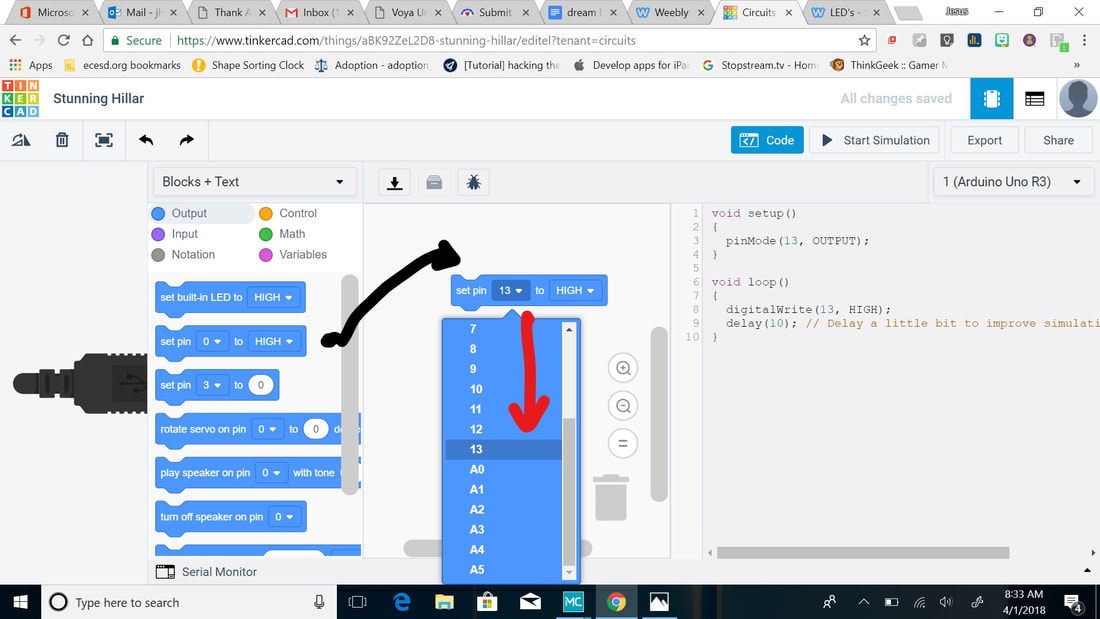
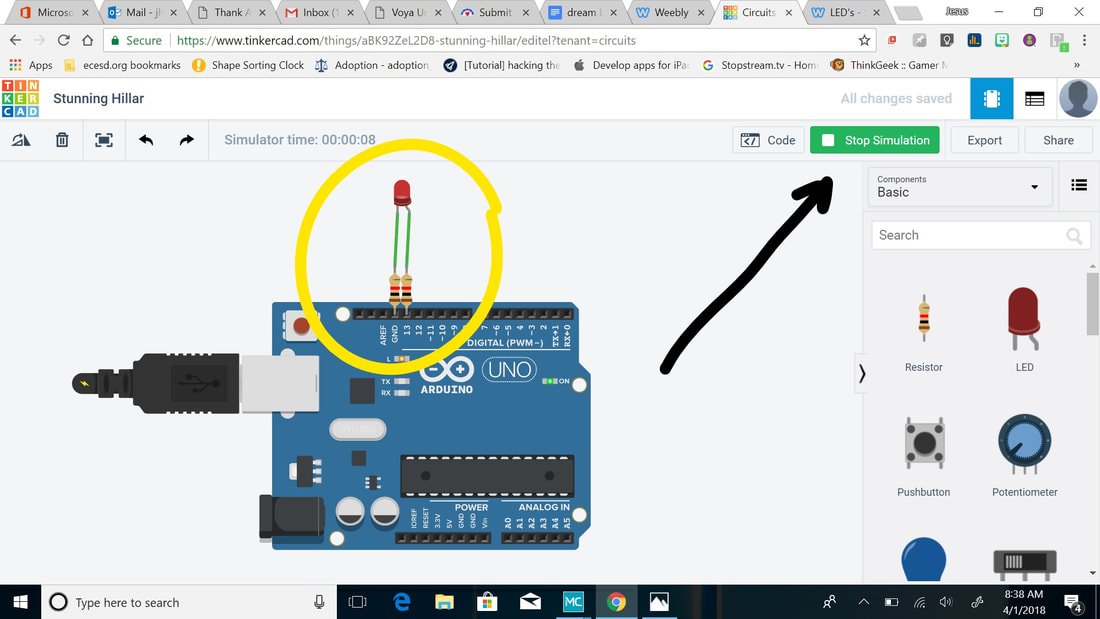
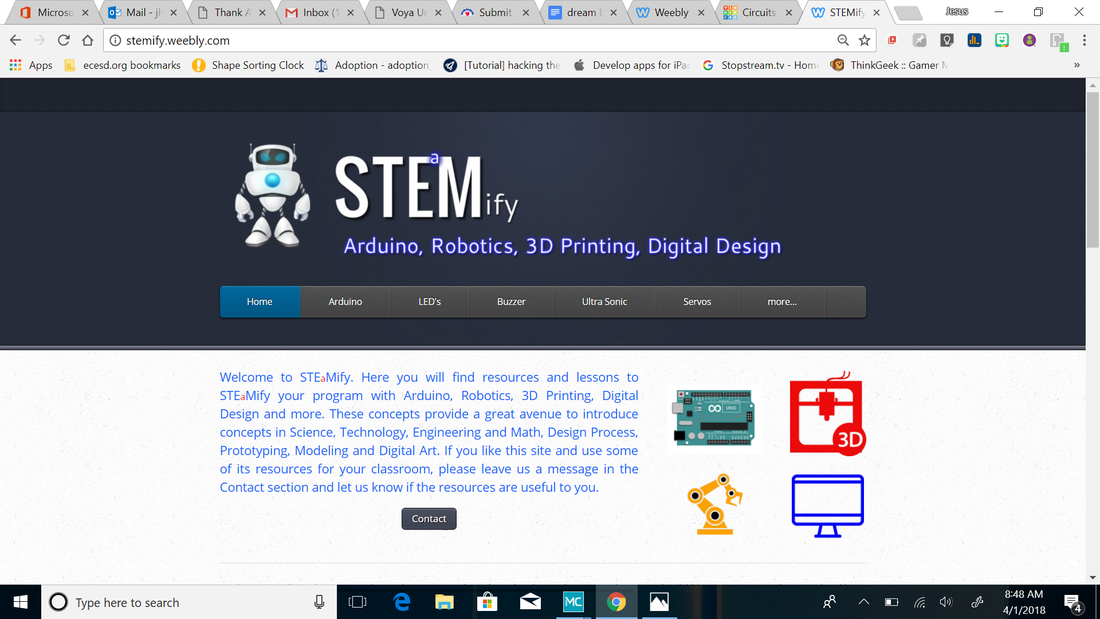
Have you heard of Arduinos, but don't know what all the fuss is about? Maybe you have but can't find a way to scale them affordably to your class? Well, you're in luck because now you can try it out with your whole class and all you need is to be able to go online! Wait, isn't Tinkercad just for 3D design?Yes, it's great to get started with 3D design but you can also access a virtual Arduino here also! Let's quickly go through the login process for students that have Google accounts. Click on sign in Click here to use social providers Click on Google or your account of choice Click on your account and sign in! Time to begin learning circuitry!There are a couple areas to go into: Lessons and Circuits. Lessons will allow you to learn the basics and be guided through it. Circuits will allow you to experiment. For this tutorial I will go ahead and take a look at Circuits. Just like when creating a new 3D design, click on create a new Circuit. Scroll down and find the Arduino Uno R3. It will act exactly like it's real life counterpart! Click on the LED and then near the Arduino to bring it into the workspace. Now do the same with the resistor, click on it and then near the Arduino. Do this twice, since we will need two resistors! Where does all this stuff go?Easy! Actually not so easy but there is a website that has a lot of great info and projects to get started with! Head on over to Ascension Reyes' website stemify.weebly.com/ and up at the top you will see a tab that says LED's. Click there to get started! Here you will see the pinholes to use to get started! Click and drag the two resistors from earlier to the pinholes that we saw on the stemify website. Now click the tips of the resistors and then click the tip of the LED light. You will connect virtual wires so that we can run a virtual current to light it up! I've heard you need to know coding...Luckily if you have students that are new to programming, coding or electronics, the circuits feature on Tinkercad uses block programming. Click here to launch the coding aspect of the simulator Clicking here will allow you to switch from block programming to block programming + text or to just text. For this tutorial lets stick with block programming + text, since that will allow students to see the language take shape as they add blocks. Take all this and dump it in the trash Grab the "set pin" block, drag it in and then click on the number 0 to see the drop down. Since we have our LED on GND(ground) and on 13, pick 13. To see the simulation, click on the Code button that is highlighted blue to hide the blocks and text. Click on the start simulation button and magic! Your virtual LED will light up! From here you can start trying out other activities on Mr. Reyes' website to get familiar with Arduinos! Why start virtually vs. buying a class set?If you look at my previous post, you'll see that I try and find activities or equipment that will not break your bank. This also makes it easier to pitch the idea of having this in your class easier to admin. With this activity, it also rings true but also it will allow you to play around with Arduinos and not be worried about breaking one! As with any new equipment that a teacher gets, you will gain true understanding by trying it also. From there, the ideas of how to apply it in your classroom will spring forward! A special thank you to Ascension Reyes for having such an amazing website! Please click the link below to check it out!
1 Comment
3/4/2024 06:52:16 am
Animation software refers to digital tools used to create animated content, including cartoons, films, and advertisements. It allows users to design, manipulate, and render images or models to produce motion sequences, enhancing storytelling and visual communication in various industries.
Reply
Leave a Reply. |
About me
Hi! My name is Jesus Huerta and I help kids find their creativity by making things! Tech comes second and all that jazz. Contact me with ANY questions at [email protected] Archives
April 2019
Categories |
 RSS Feed
