|
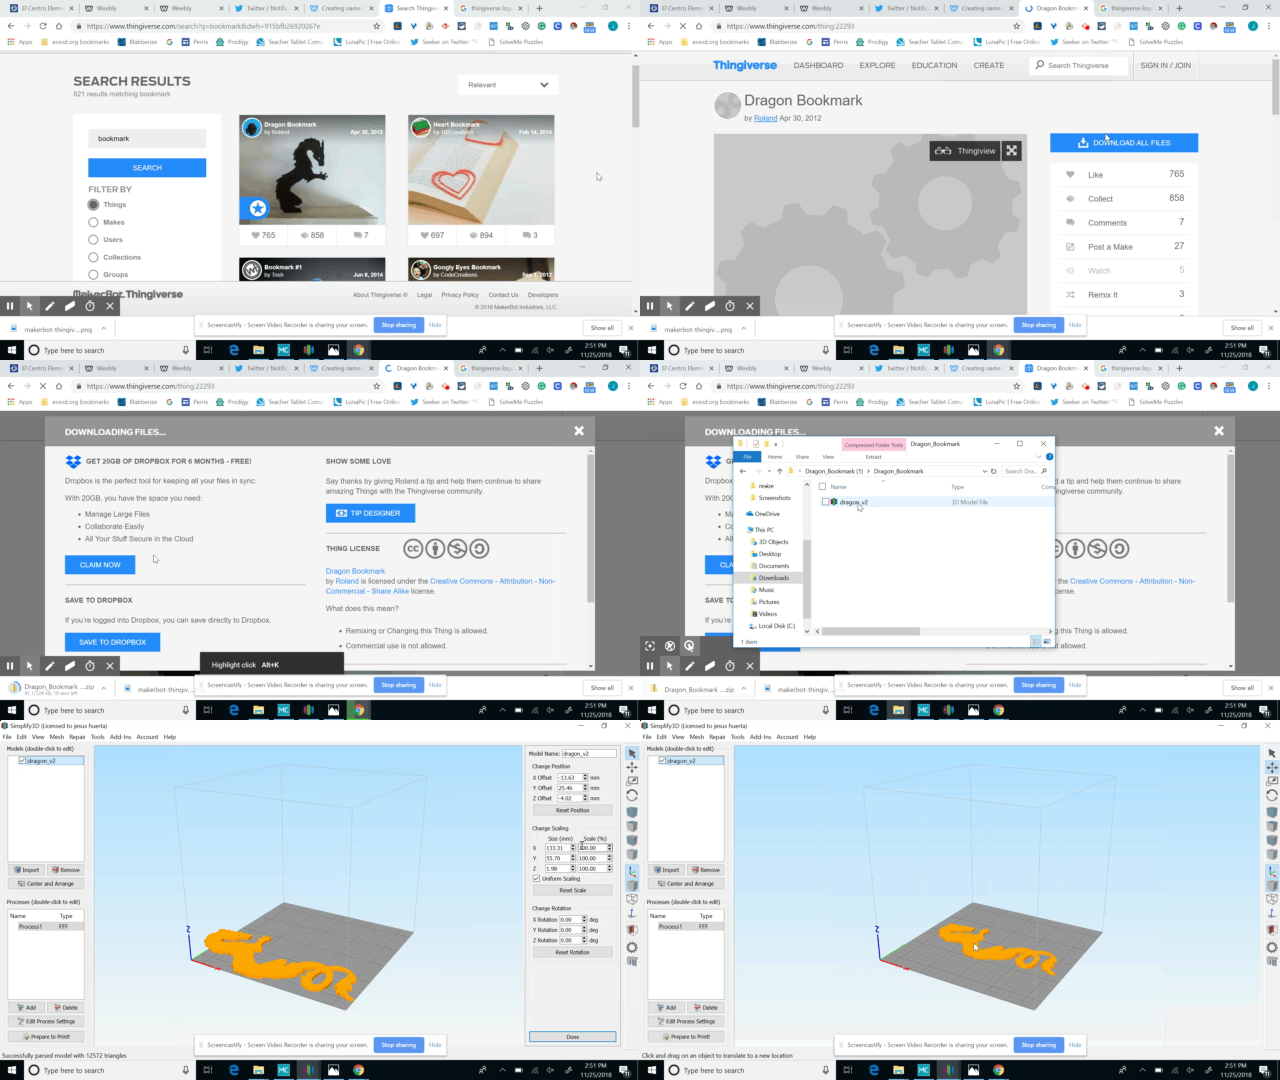
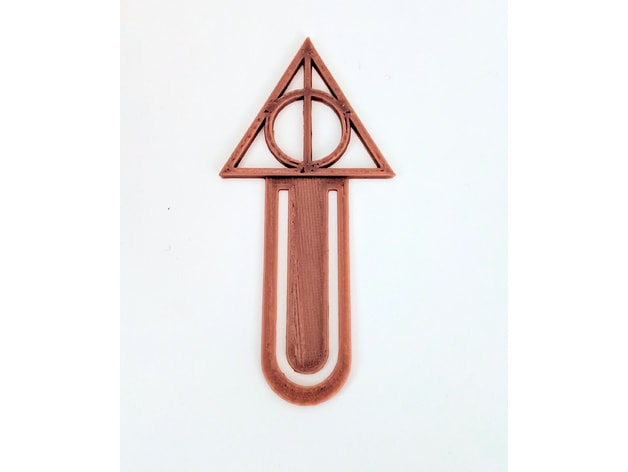
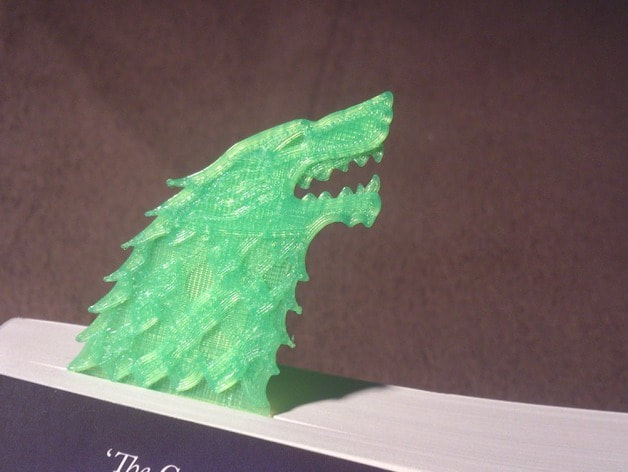
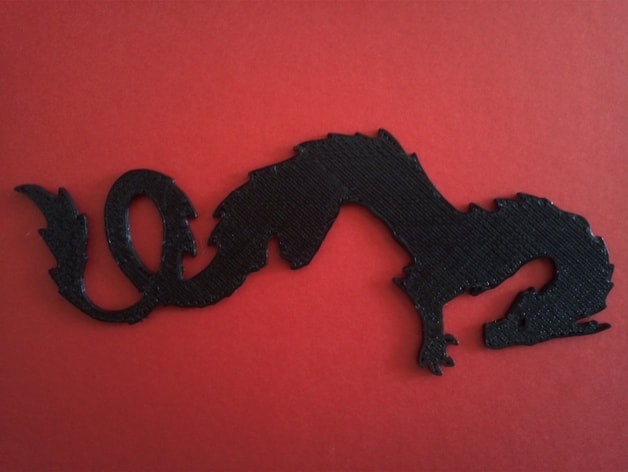
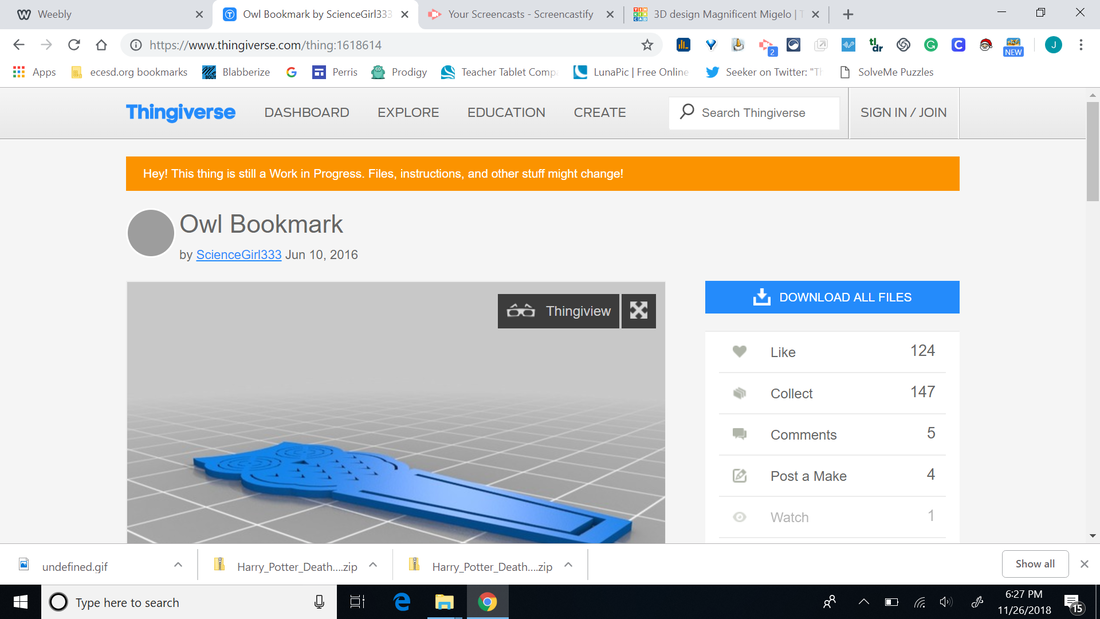
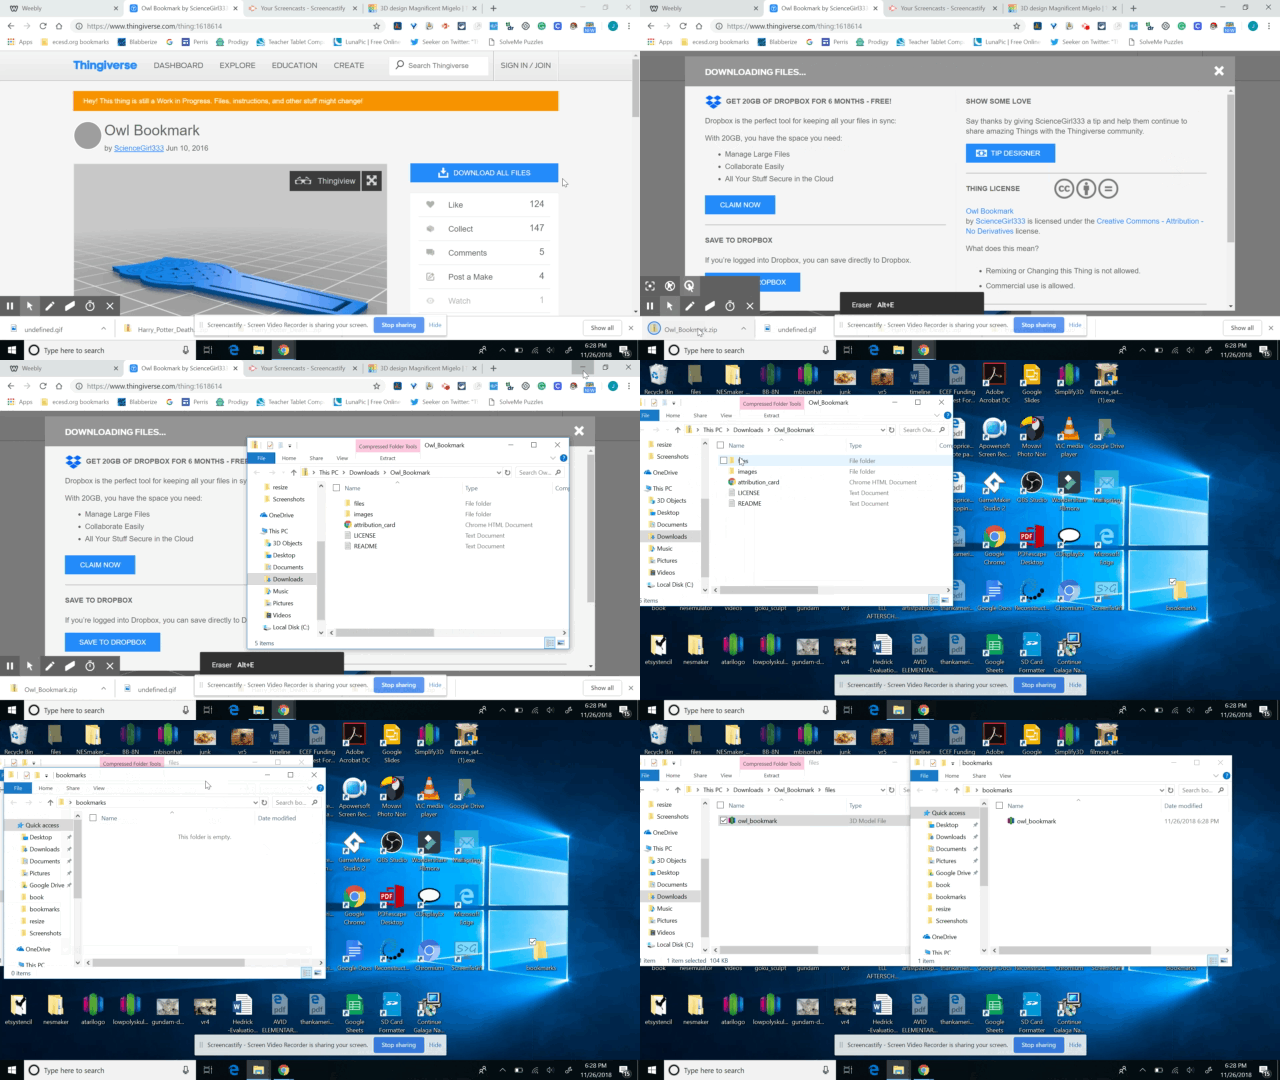
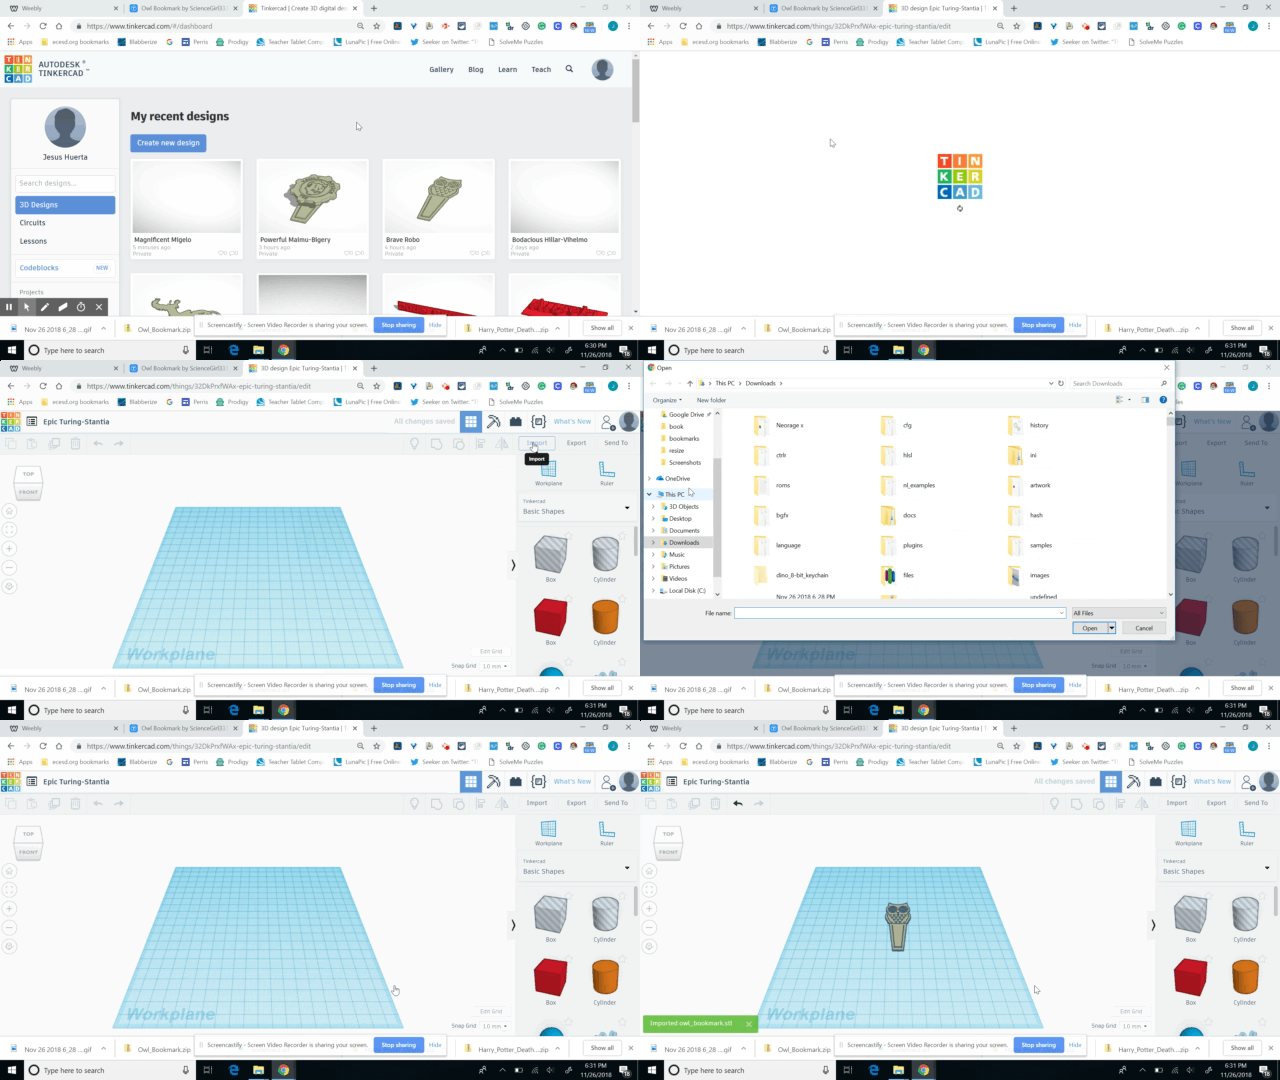
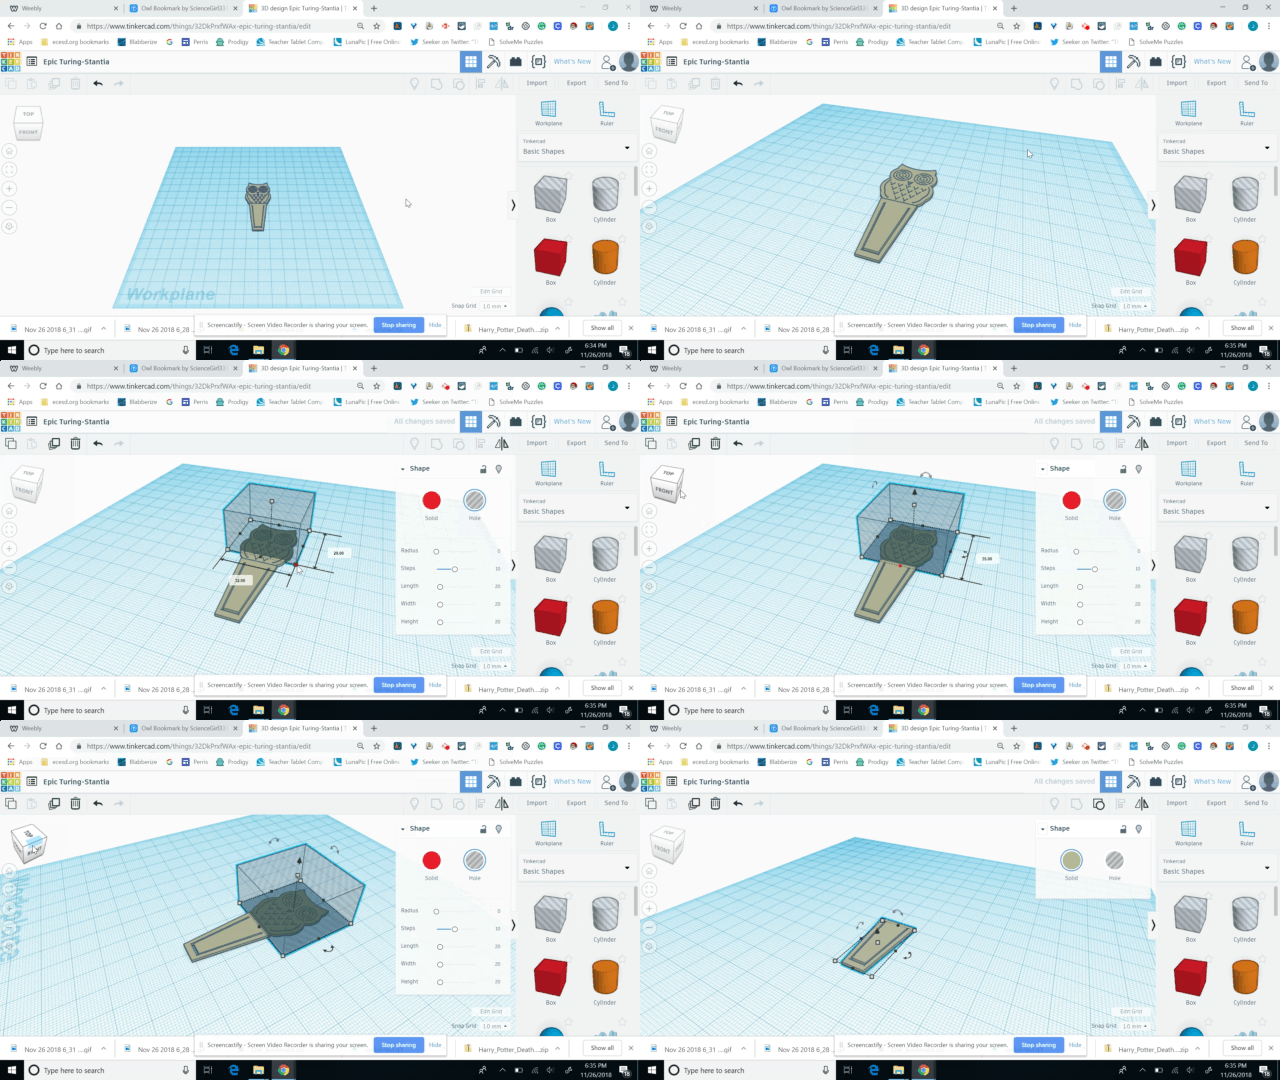
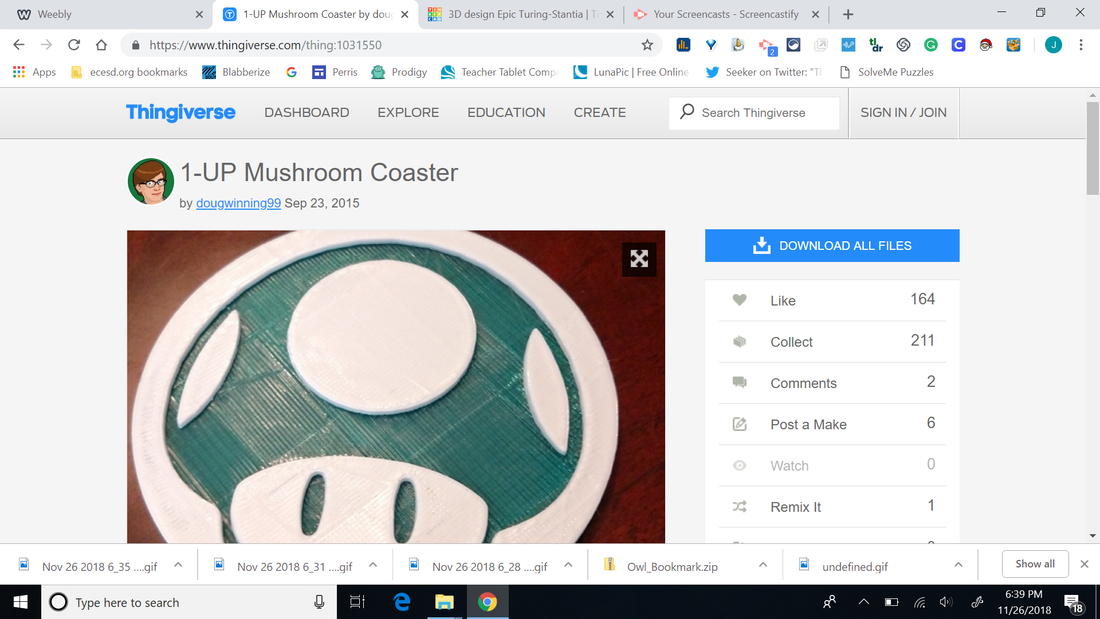
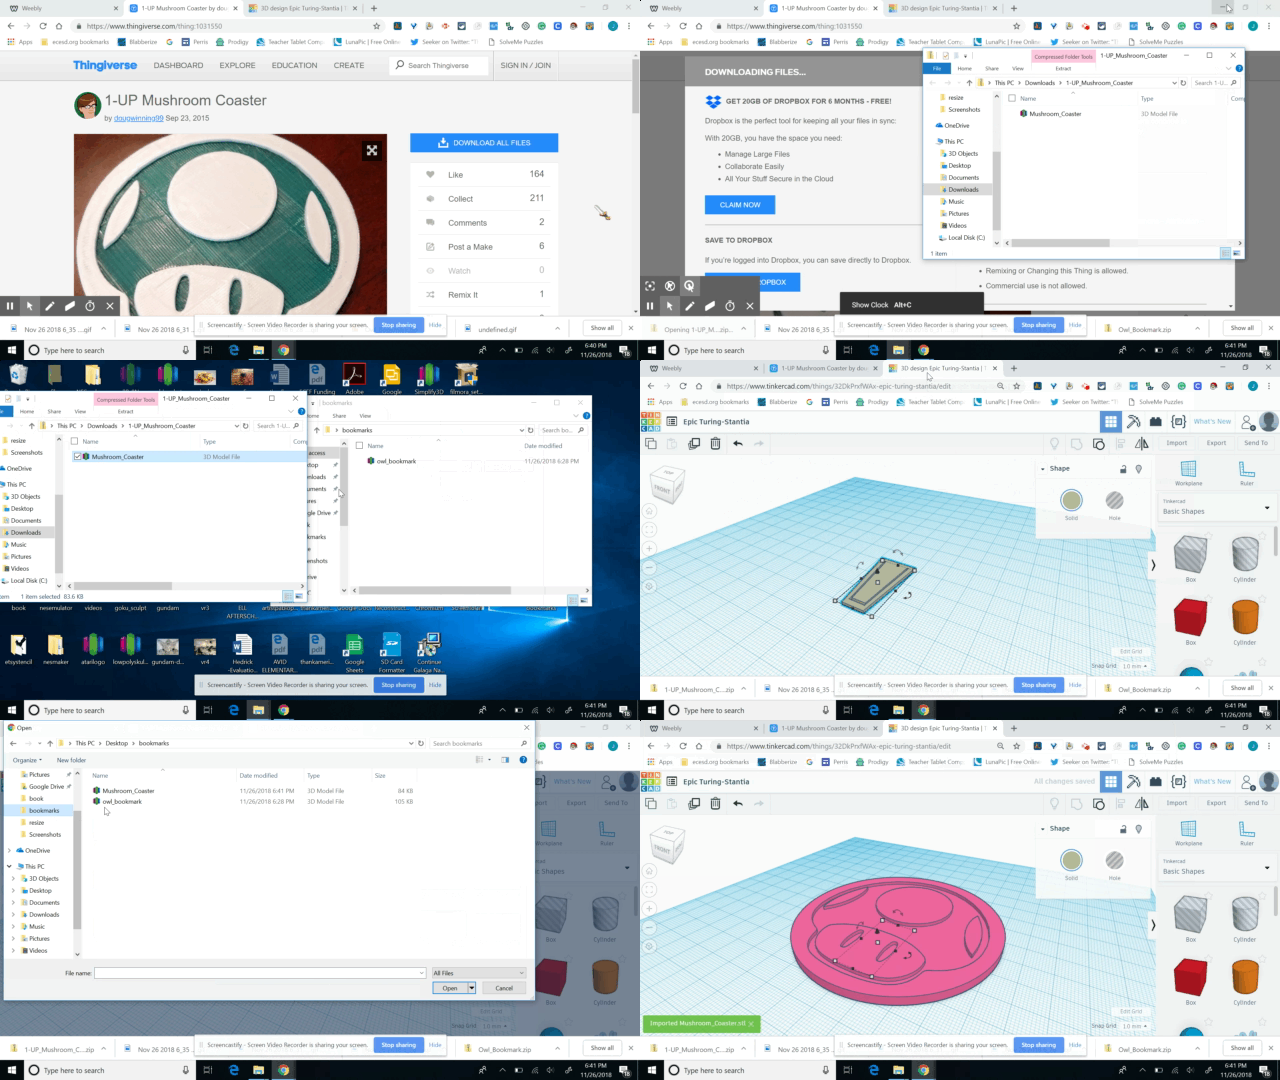
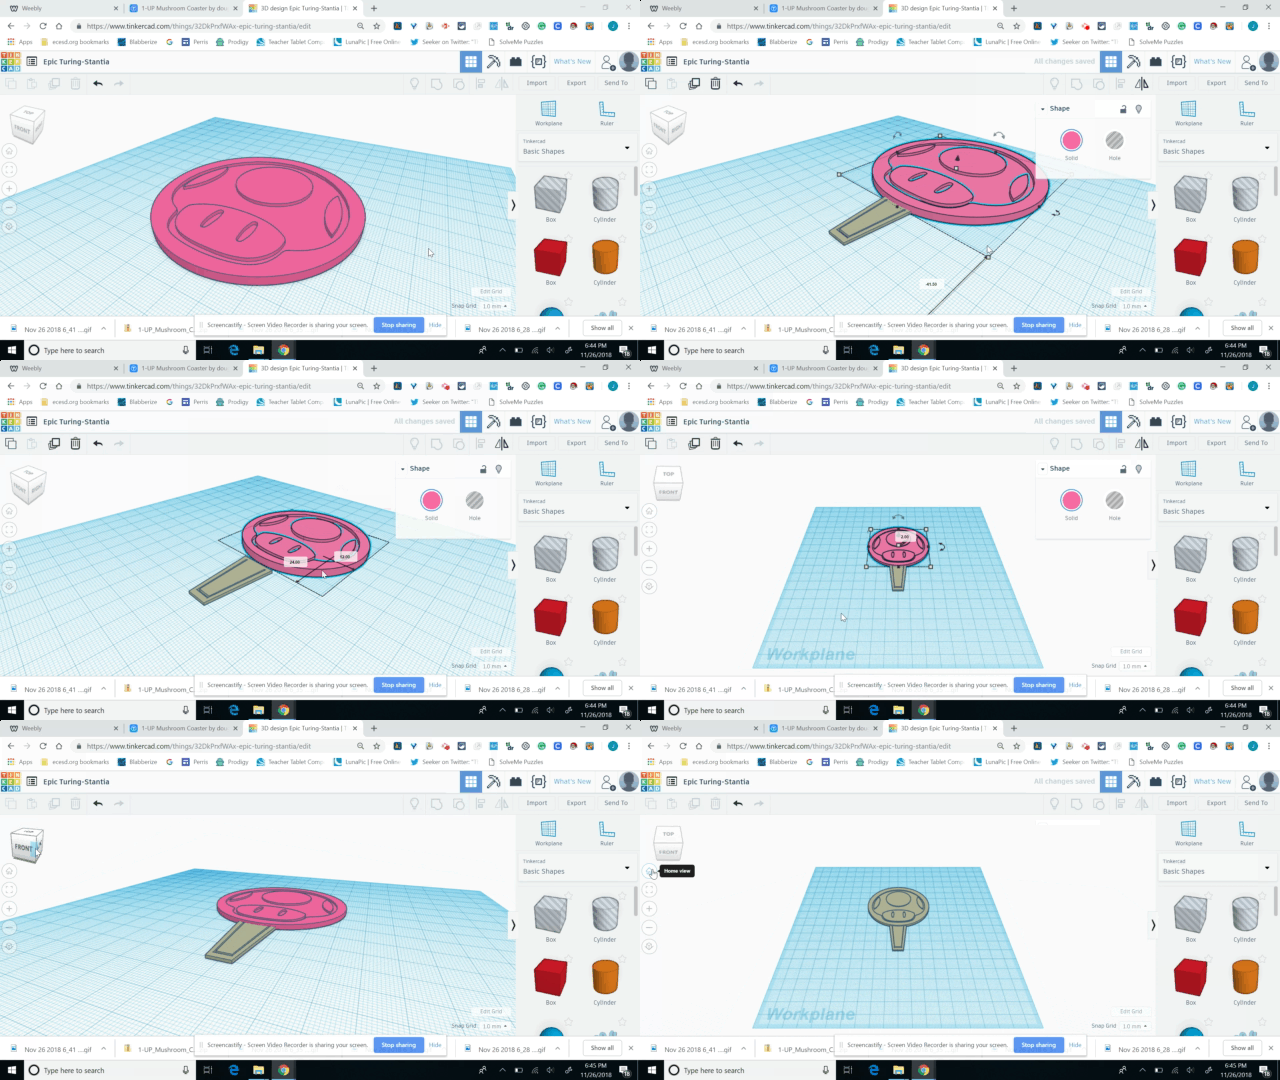
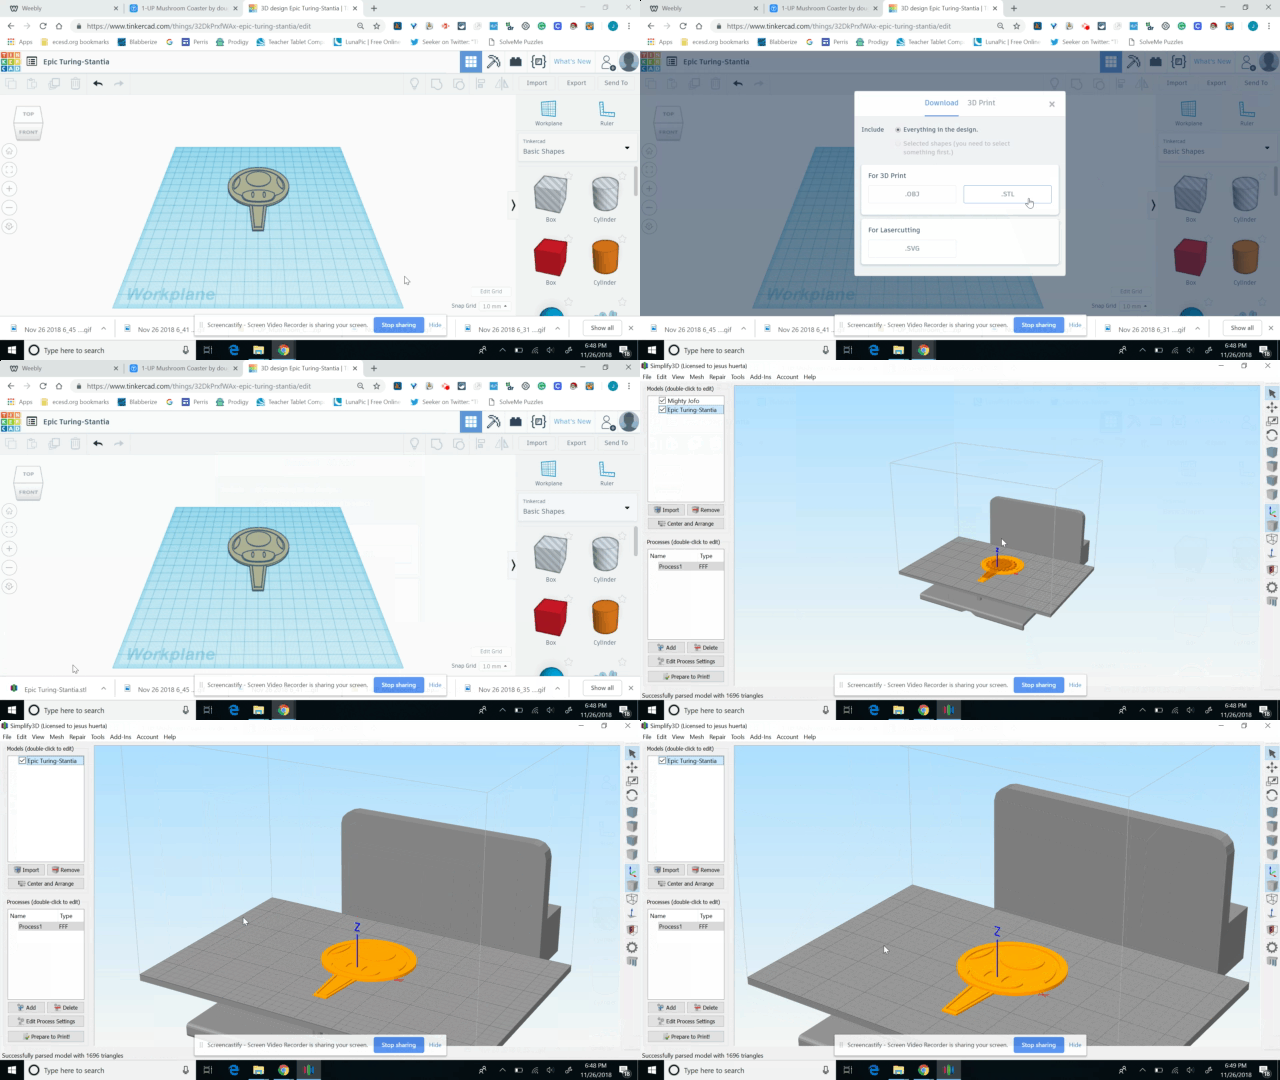
When we do something for our students, it makes a lasting impact. Whether we attend one of their sports games, talk about a movie they have seen or give them a trinket, it helps make that connection so much stronger. Here's a way to make that impact plus show them that reading matters: 3D print bookmarks for your students! Bookmarks that have already been designedIn the previous post, I mentioned how to start the year off with student names tag/plates that were 3D printed. That post also shows how to get started with 3D printing, so please see that page on how to get started. In this post we will look at how to 3D print a bookmark, then how to take an existing bookmark and manipulate it as a custom bookmark. Let's get started! Where to find bookmarks?The place you will want to start is a website called Thingiverse and the link below already has the search completed for you. Click it! Once there you will want to find a model that you find interesting. I'll choose this dragon bookmark. Once you click to download the file you will see it in zip form, open it up by clicking on it. Inside your are looking a 3D model file or STL file type. Once you have found it, double click on it to launch the printer software. Some of these may be too long for your printer, so just double click the model and resize it. The cross hairs on the right side will allow you to recenter the model. Now it's ready to be printed! See the video below for a visual companion to these instruction. Here are some examples of printed bookmarks! What if I or my students want to make our own?Let's see how we can get this made! First you want to find a preexisting bookmark that you will manipulate. I have included the one below as a great example! Click the picture to go to the site! Next you will want to download the file, open it and place it in a separate folder. Now go to www.tinkercad.com and create a new design. From there you will import the bookmark file so that it can be manipulated. Now we will cut away a piece of the bookmark by selecting the block that is clear. We will place it over the part we want to remove. We can change its size by dragging on the squares around the shape. Once we have the area covered we want to cut away, we will drag and highlight everything. Then we will click on the group button. After a few seconds it will be cut away. Now let's find something to attach to it! I have included an example below for you to try out first, so please click on the picture! We will click to download the file and place it in the same folder as before. Then we will go ahead and import it like last time! Sometimes the item will be too big, so let's change the size by using the cubes around the object. This will allow us to make it small enough to fit with the bookmark piece we have leftover. Once it's the size we want, we move it so it touching the bookmark piece, highlight everything and then click the group button! The last thing is to export our new bookmark, open the file and then set it to print! Click the export button, choose STL and when it downloads just click it open. This should open it in your 3D print software and you are ready to go!
1 Comment
3/4/2024 06:47:11 am
Animation software allows users to create moving images using various tools and features. It simplifies the animation process by providing a platform for designing, editing, and rendering animated content, making it essential for professionals and enthusiasts in the animation and multimedia industries.
Reply
Leave a Reply. |
About me
Hi! My name is Jesus Huerta and I help kids find their creativity by making things! Tech comes second and all that jazz. Contact me with ANY questions at [email protected] Archives
April 2019
Categories |



 RSS Feed
